How To: Install the Xposed Framework on Your Nexus 5 for Max Customization
If you've been keeping up with anything Android these days, you've no doubt heard about a little dandy called Xposed Framework kicking around. Xposed, by XDA developer rovo89, is a framework for Android devices that lets you easily modify your stock or custom ROM.Xposed is receiving much deserved attention because of the simplicity in which it allows you tinker with your device. Whether using customized, skinned, or stock Android, we can dive in and softMod to our heart's content, without the need to flash a custom ROM. Please enable JavaScript to watch this video.
Before we get started, here are just a few, of many, things we can do with Xposed on our Nexus 5 devices.Get custom toast notifications Save Instagram content and Vine videos Add instant scroll-to-top functionality And these only begin to scratch the surface.
Step 1: Get Rooted!Don't worry: your Nexus device was designed for this. Part of what makes a Nexus a Nexus is its hackability. Rooting has never been easier and you can make it happen with a simple download. Here's the breakdown in our quick and easy guide on rooting the Nexus 5.
Step 2: Create a BackupBefore we start messing with this stuff, making a back up is the thing to do. You'll need a custom recovery like TWRP or ClockworkMod to do it right. Just follow my guide on installing custom recoveries to snatch one up and back up all the stuff you care about.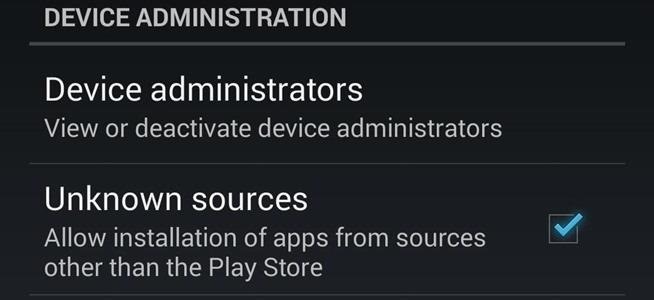
Step 3: Enable Unknown SourcesMake sure you've got that Unknown Sources box checked, as you can install third-party apps from outside Google Play without it. Image via wonderhowto.com
Step 4: Download the Xposed FrameworkYou'll find the latest version of everything you by following this link in your phone's web browser.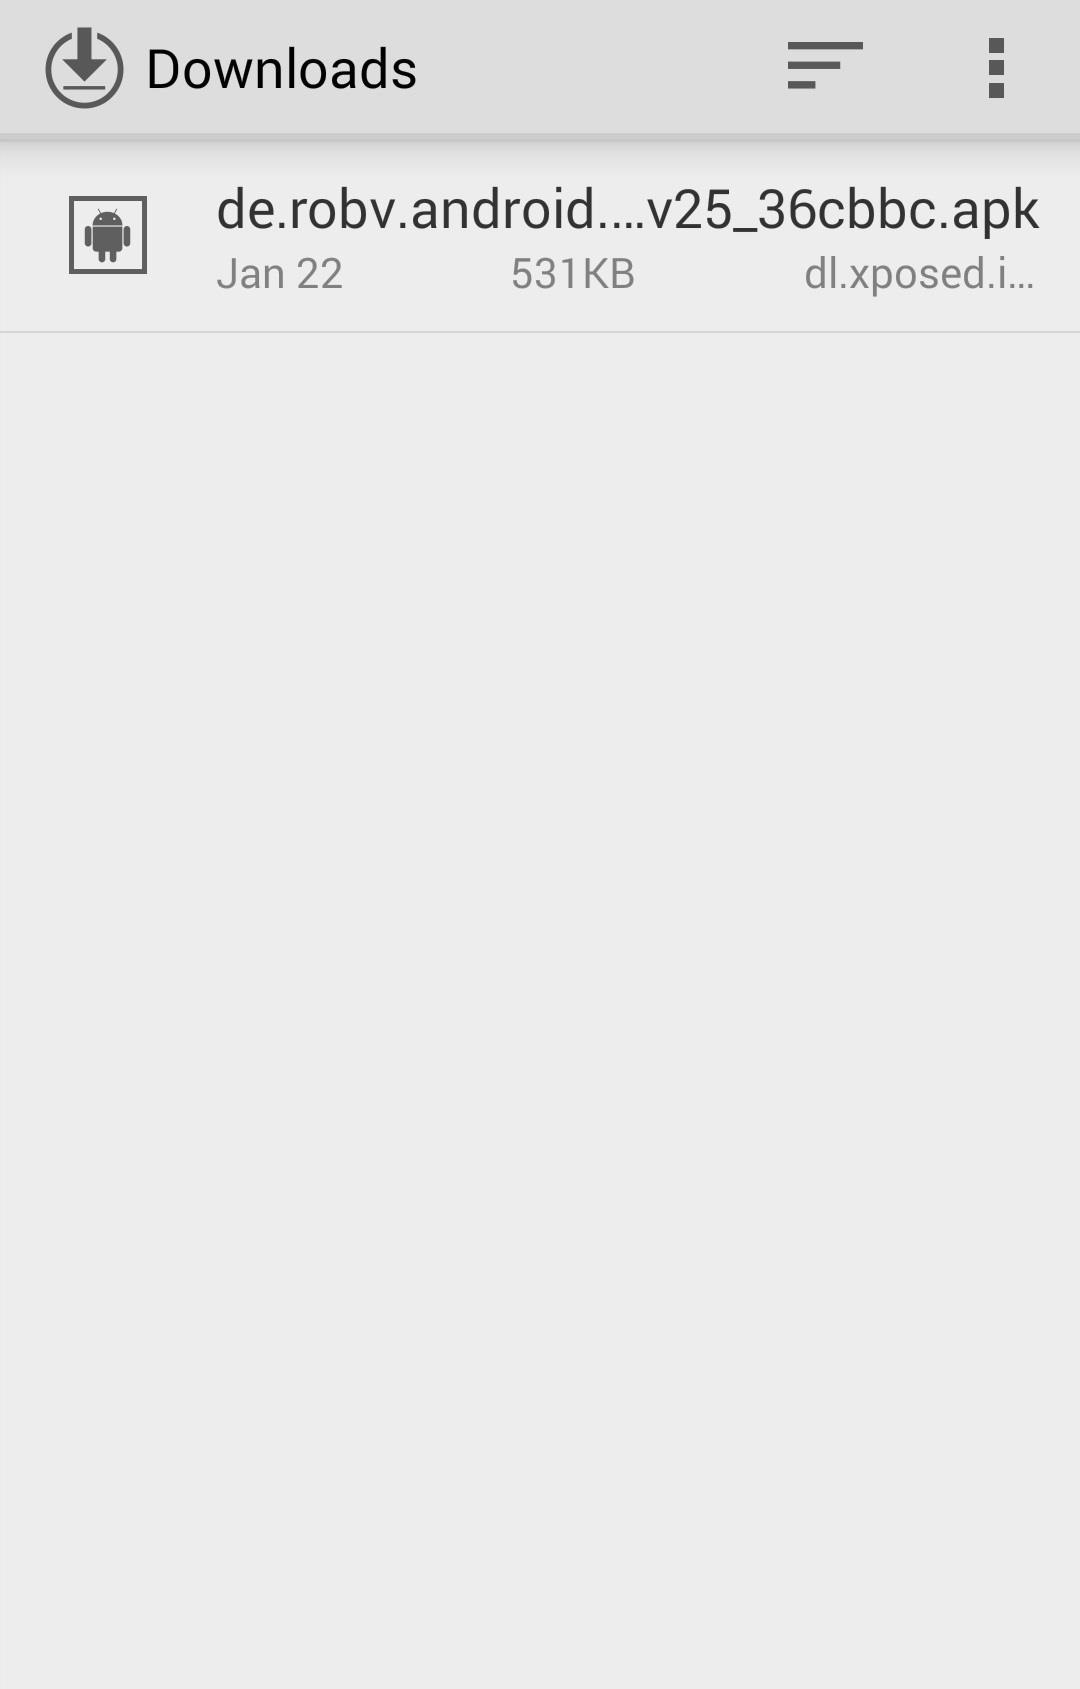
Step 5: Install Xposed InstallerOpen the download from your notifications once the download is complete and select Install, or find it in your Downloads folder. Tap Open to launch once the installation is done.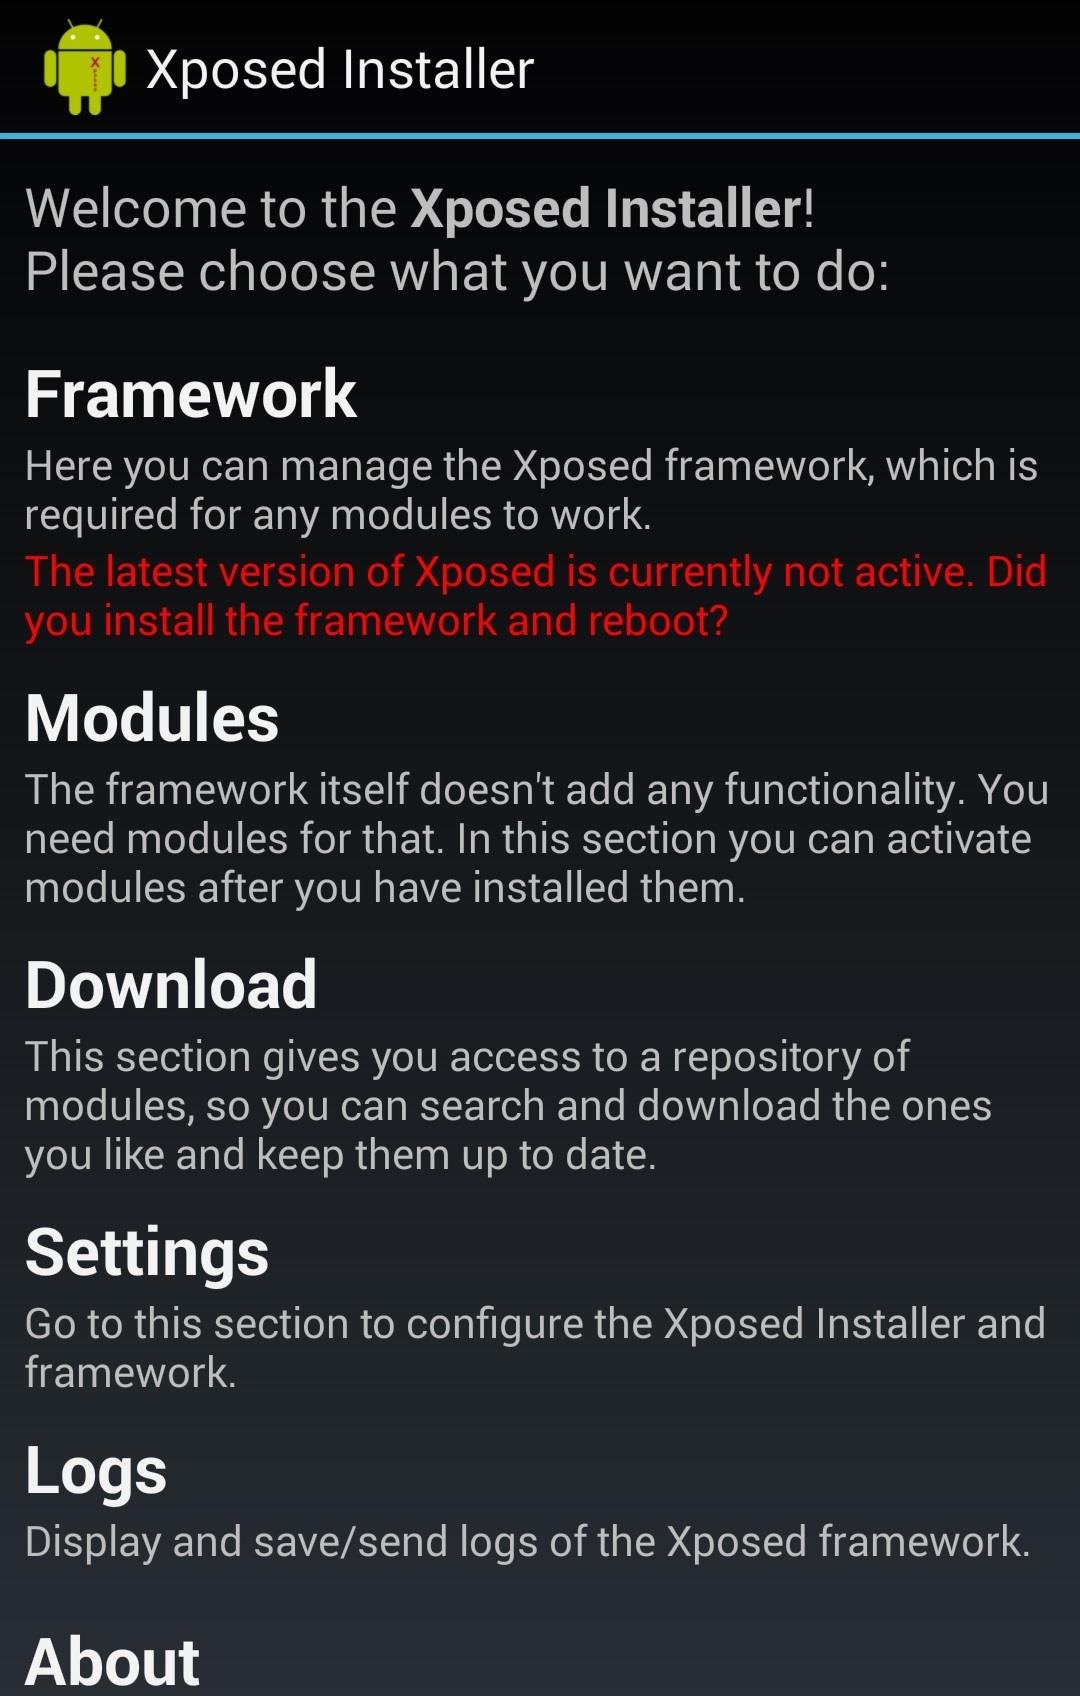
Step 6: Run InstallerWe're almost there. Now that we've got the installer, it's time to install the Xposed framework itself. Tap Framework and Install/Update. You'll see a Superuser request pop up. Think of these requests as Google's way of letting you know you're about to modify some seriously important code. You'll see them quite often the more you do this level of modding. Tap Grant!
Step 7: Reboot Your DeviceFinally, reboot your Nexus 5 to finalize the set up process. Anytime you update or install a module, you'll also need to reboot.
Xposed ModulesThe framework is just the beginning. To start modifying your device, you'll need to install modules. You can install modules directly from the Xposed Installer. Just open it up and tap Download to shop around.Once you download a module through the installer, you can set it up by tapping Module, then placing a check box next to your selection. GravityBox [KK] is great module and a good place to start. Tap Download and run a search for it. Some of GravityBox's features include customizable quick settings in the drop-down menu and the ability to skip songs with the screen off by long-pressing the Volume keys. And that's just scratching the surface.While just about all Xposed mods work across various Android devices (like the ones above), keep it locked to Nexus5 softModder for more guides and tricks specifically for the Nexus 5 using Xposed modules.
Report Ad
Free Shipping Available. Buy on eBay. Money Back Guarantee!
Well, this instructional video shows a way to con the speeding radar. Regular LED lights can be modified with infrared LED bulbs and will avoid speed detection by the police. Learn how to stop getting speeding tickets and avoid police radar detection by adding LED lights by watching this how-to con video.
LED Police Lights, Emergency & Warning Light Bars | STL
Google's new Pixel phones are rated IP53 for dust and water resistance, the company confirmed to us today. I know the IP53 rating was rumored pre-launch, but now that the phones are official and
iPhone XR IP67 Water-Resistant Rating Explained: Here's What
How To: Hack a toy radar gun into a real one How To: Make an EMF detector out of an Arduino How To: Adjust your Gold Bug metal detector How To: Build a radar from cheap satellite dish parts or a toy radar gun How To: Program a Valentine 1 (V1) radar detector
A toy Radar gun hack - YouTube
Here's a fun weekend project you can use to add to a common toy. Get a yo-yo with concave sides, a few pieces of thin plastic (like from a CD case) and a few lithium-powered LEDs. Then follow this tutorial and get a yo yo that lights up when you play with it!
LED Yo-Yo Side Caps | Make:
I'm pleased to present my MoDaCo Custom Hero ROM for the CDMA Hero! No wipe is required for this ROM. You can now create a customised ROM containing only the parts you required - click here to read more about the MoDaCo Custom Custom ROM online kitchen!
How to Run Multiple ROMs at the Same Time on Your - HTC One
How to Organize Tasks Better & Increase Your Overall
How To Turn A Clothespin Into A Matchstick Gun. 2014 at 9:00am. The Clothespin Pocket Pistol. a mini-sized pocket pistol that shoots matchsticks and toothpicks.
How to Make a Clothespin Gun: 9 Steps (with Pictures) - wikiHow
How to Clear Your Cache on Any Browser | PCMag.com
Recently, I had a situation where I wanted to send someone a picture, but I wanted it to be a combination of two pictures. Sending the pictures separately would not have been fun, due to the fact that they had to be shown side by side to get the best effect. I also wanted to do this without Photoshop or downloading some third party program!
10 Best Ways to Open and Edit PSD files without Photoshop
If you're looking to increase your productivity, you might think about investing in a time management course or to delegate more tasks. But while these are sound strategies, you may be better off starting right under your nose by reorganizing your desk and office space. That's because your work
0 comments:
Post a Comment