How To: Everything You Need to Disable on Your Galaxy S8 or S8+ for Privacy & Security
Our smartphones are full of personally-identifiable information. So much of what we do with these devices is tracked and recorded to make our experience more streamlined and personalized. For many users, that's a fair trade — but for privacy-minded folks, it's a raw deal.And it's not just Big Data that you have to look out for. Law enforcement agencies are quick to subpoena your phone when it suits their needs. Ad companies and cell carriers track your browsing habits. Even something as innocuous as a friend peeking over your shoulder and seeing the wrong bit of information can have serious repercussions. Put simply, you really have to be careful these days.Thankfully, the Galaxy S8 has plenty of settings that you can adjust to make your phone a bit more secure while reclaiming some privacy. Most of these options are enabled by default, so below, I'll take you through all of the settings that you need to disable if you want a more private experience.Don't Miss: The 4 Best Phones for Privacy & Security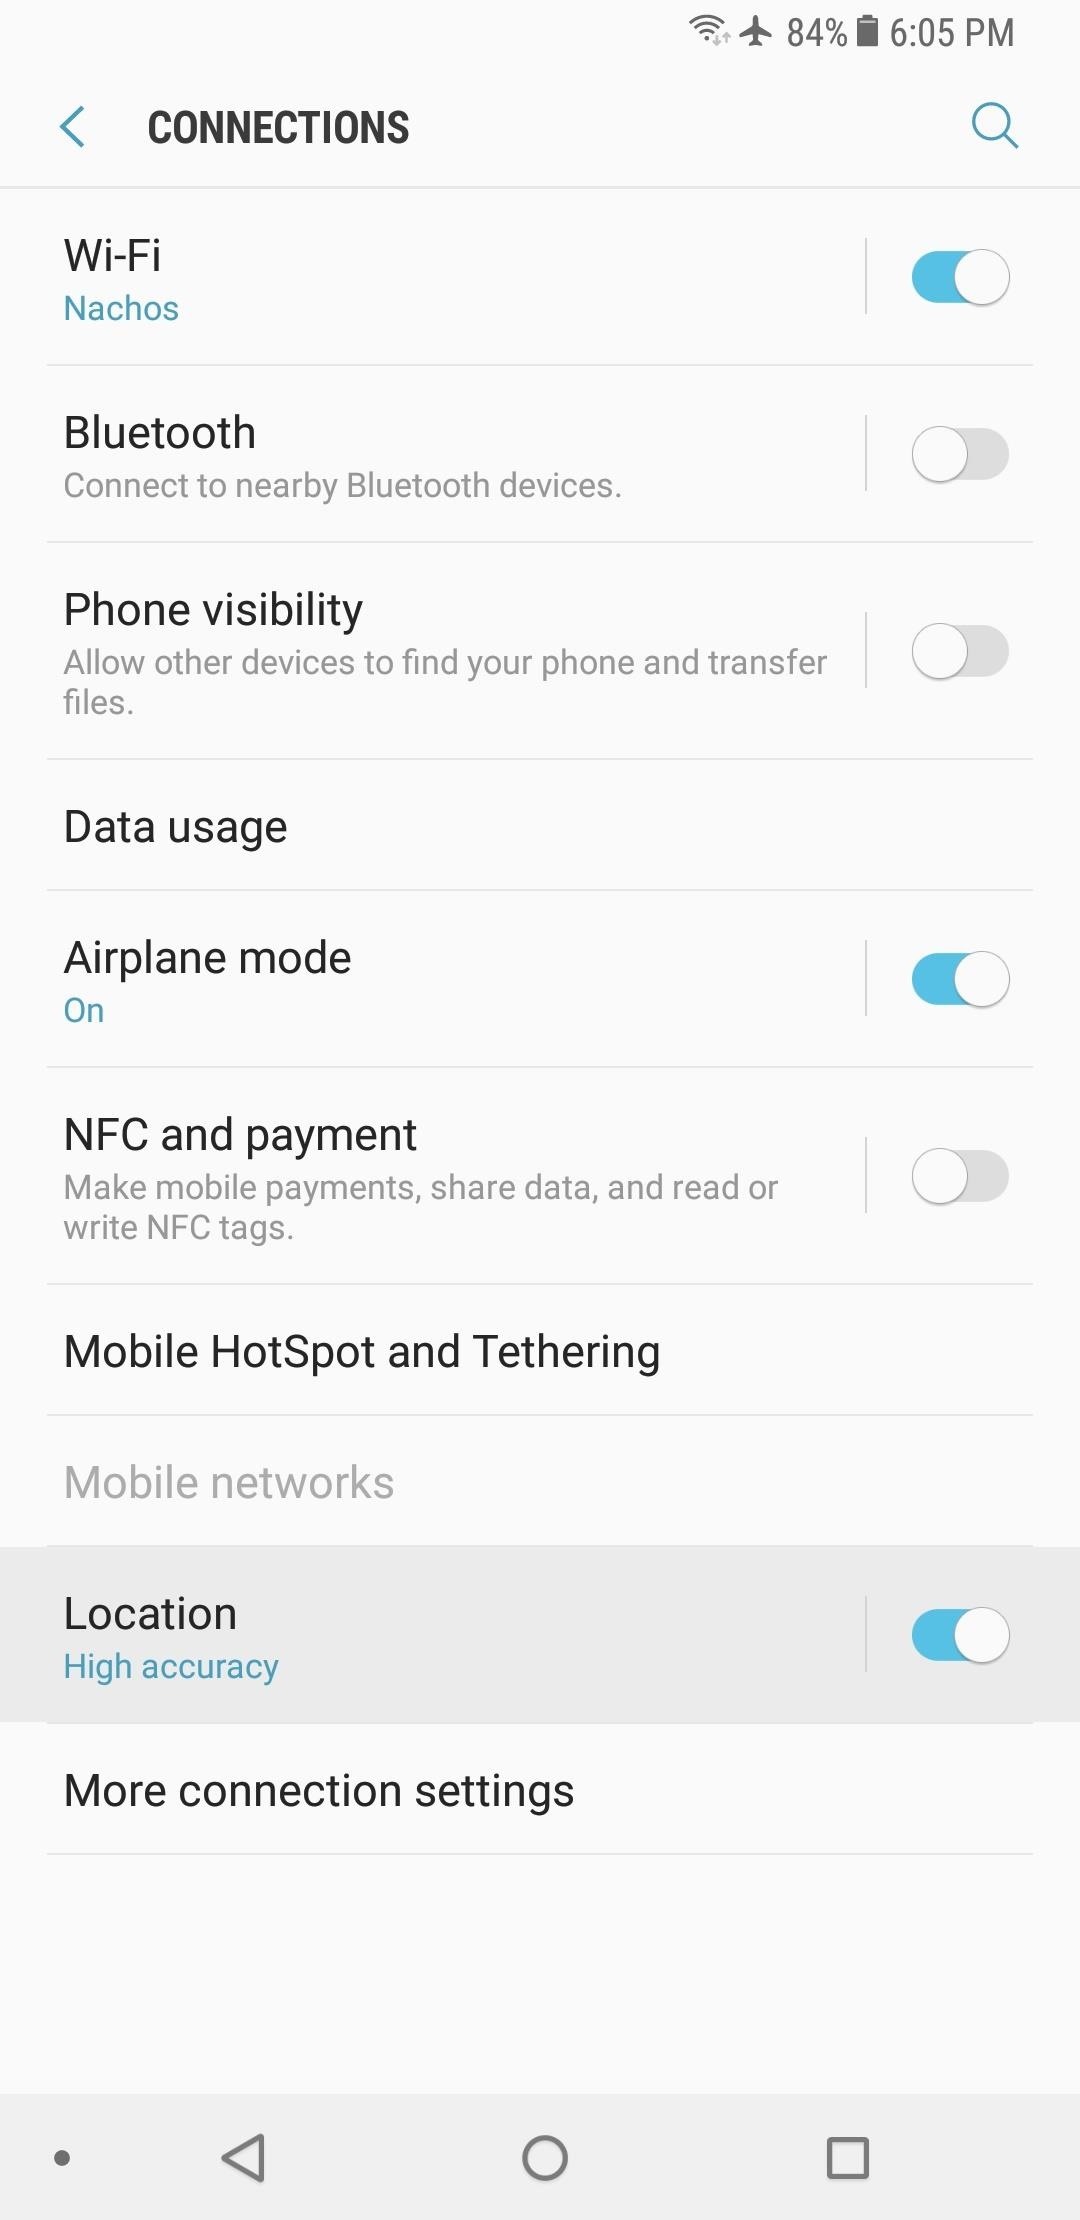
1. Location HistoryIf you weren't paying close enough attention during initial setup, there's a good chance you allowed your phone to record a history of your location. This history is always being logged, and can be accessed at any time by heading to this link and signing in with the Google account and password you use on your phone.It's a useful feature in some scenarios, but many folks think this is a bit creepy. So to turn this feature off, start by heading to the Connections menu in your phone's main Settings. From there, tap the word "Location" (don't toggle the switch), and on the next screen, choose "Google Location History." From there, you can disable the feature by toggling the switch at the top of the screen.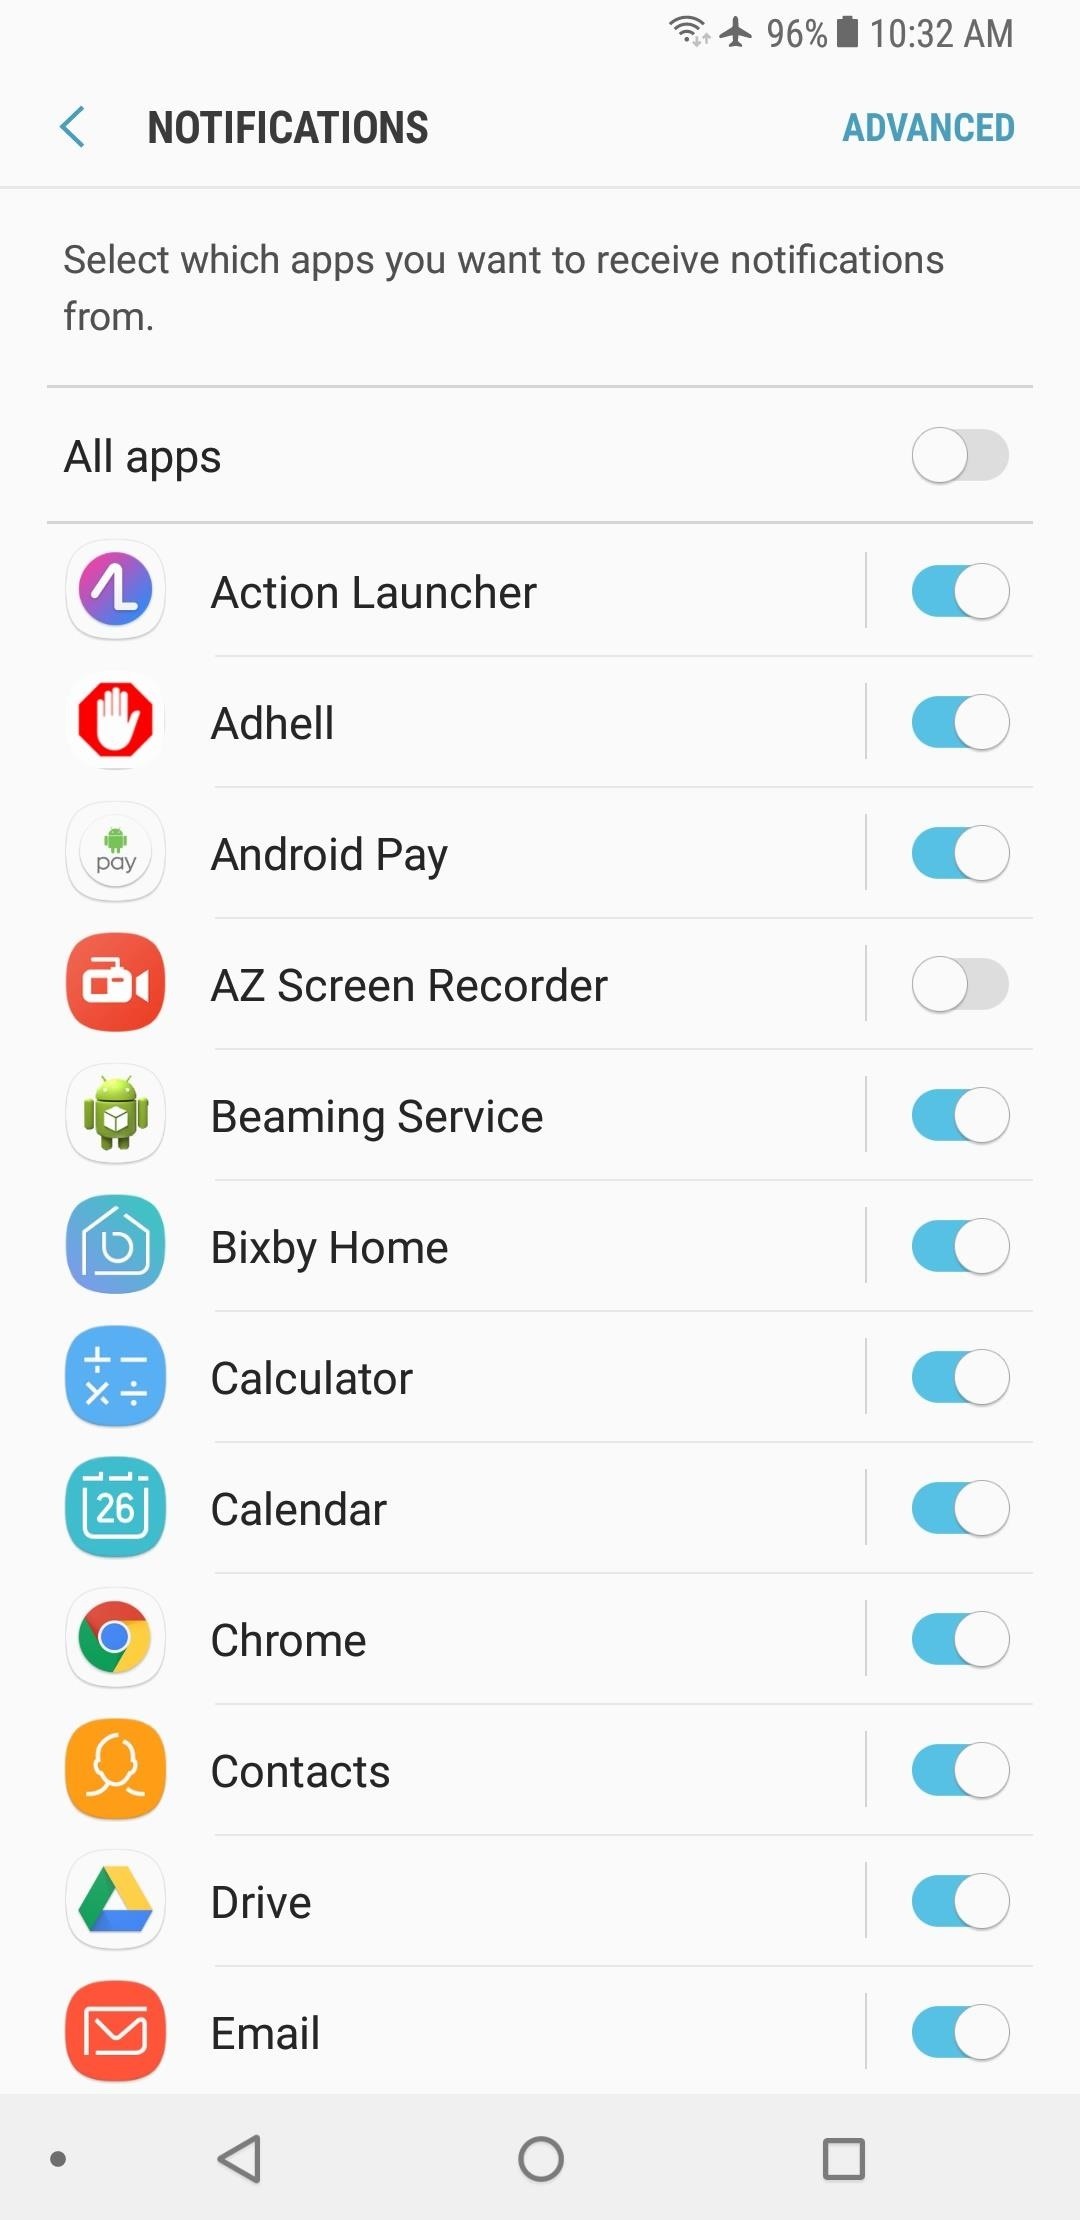
2. App Notifications & PopupsIf there's a chance someone might be reading over your shoulder, you might want to change notification settings for certain apps. If you head to the Notifications menu in Settings, you can disable the toggle switch next to any app to prevent it from showing notifications altogether.But if you still want to receive notifications from an app and you'd just like them to be a bit more private, tap the app's name from this same list. This will take you to another menu, where enabling the "Show silently" switch will prevent notification popups from showing at the top of your screen every time you receive a message from this app. You'll still be able to view notifications from the notification tray, but it'll be on your own terms now.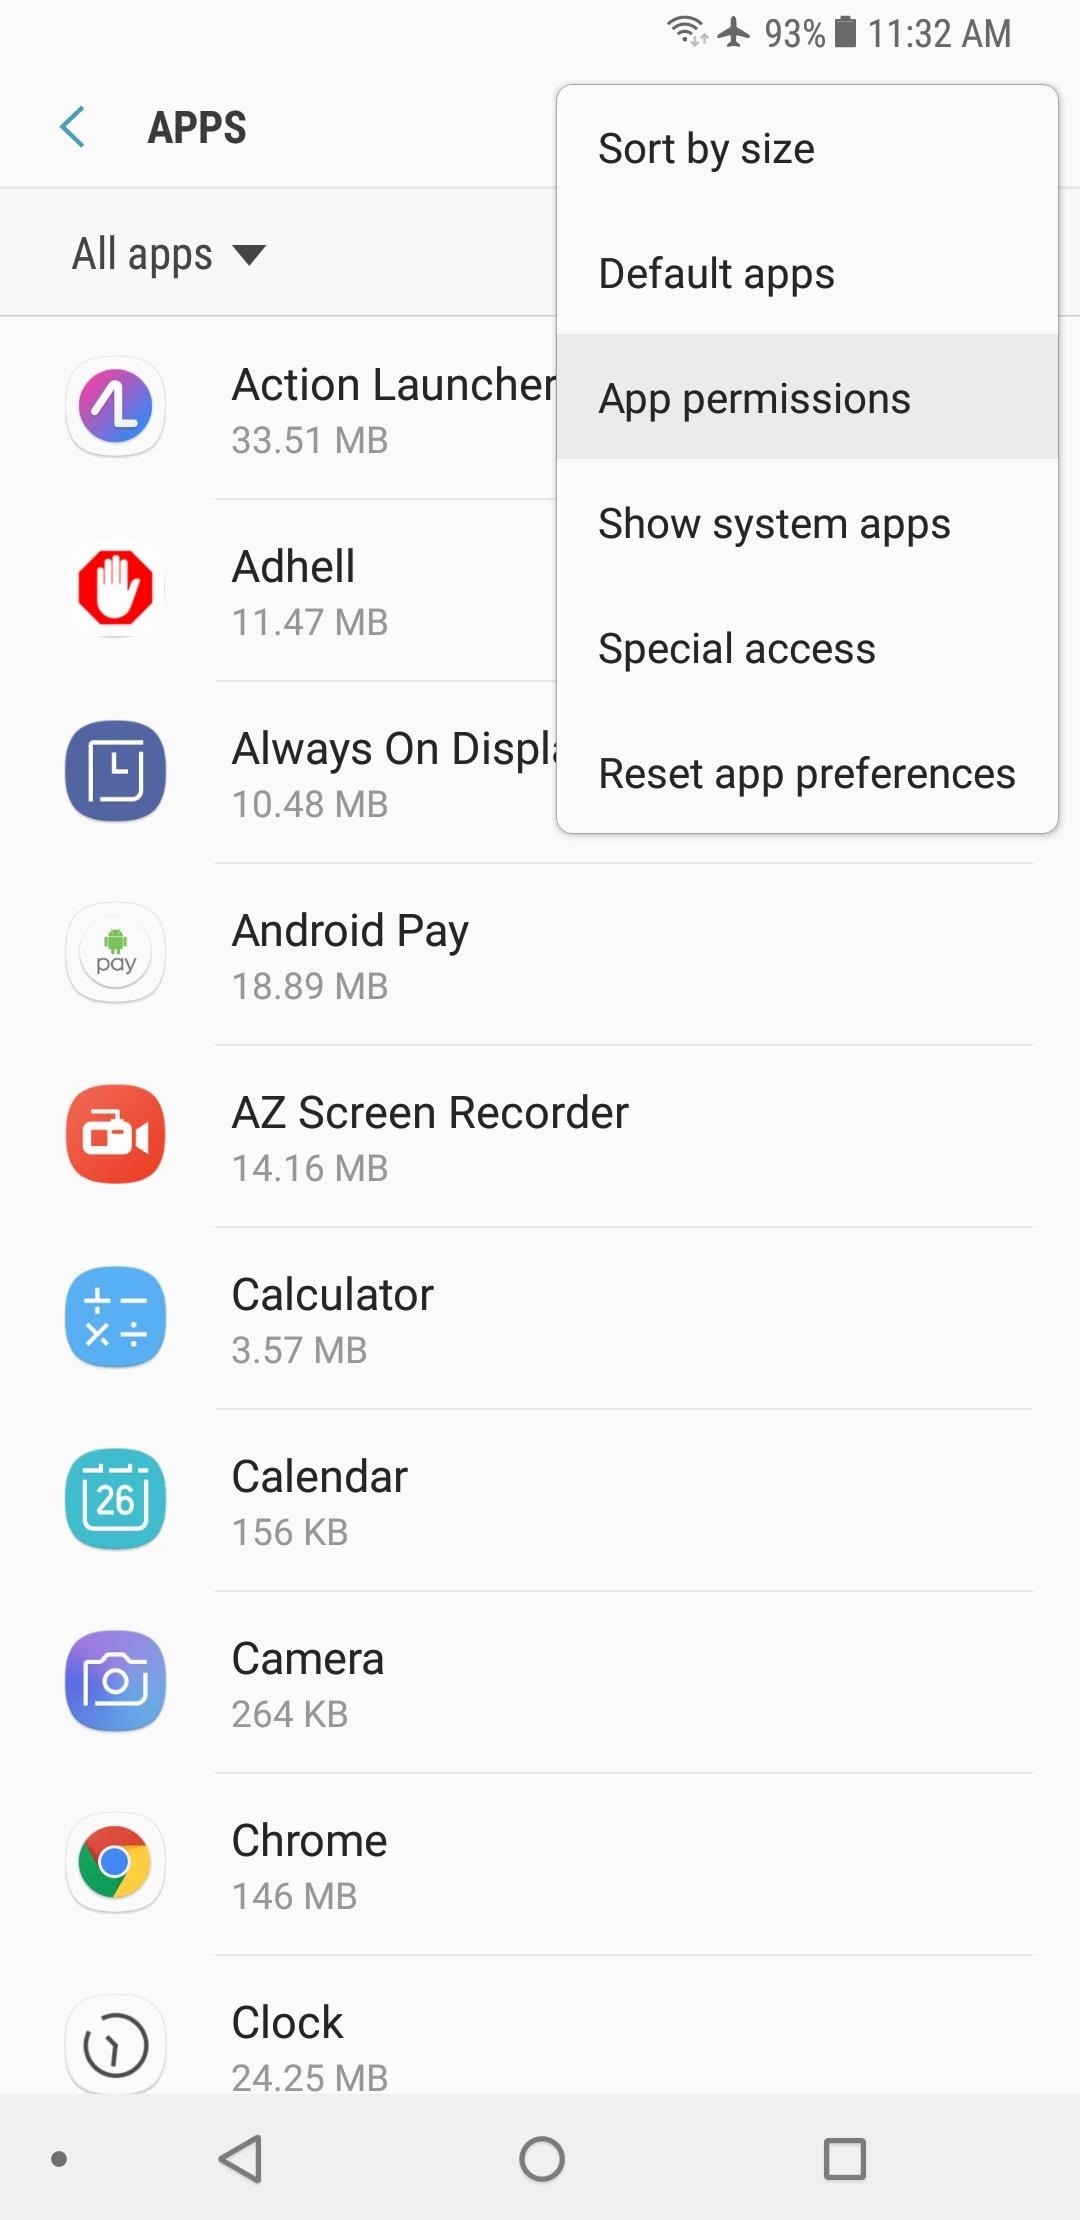
3. Camera, Microphone & Location AccessWhen you first install an app, it will usually open to a walk-through screen to demonstrate its features, giving you options like "Next" and "OK." But if you weren't paying close enough attention, one of those screens could have been a permission request, which means you might have accidentally given the app the ability to access sensitive data.To double-check these app permissions, head to the Apps menu in Settings, then tap the menu button in the top-right corner and select "App permissions." From here, you'll see a list of all of the data that third-party apps can access, with the most sensitive ones being "Camera," "Location," and "Microphone."So tap each of these permission categories individually, then go through the list on the subsequent screen. If a certain app has access to this data when you don't want it to, simply disable the switch next to it.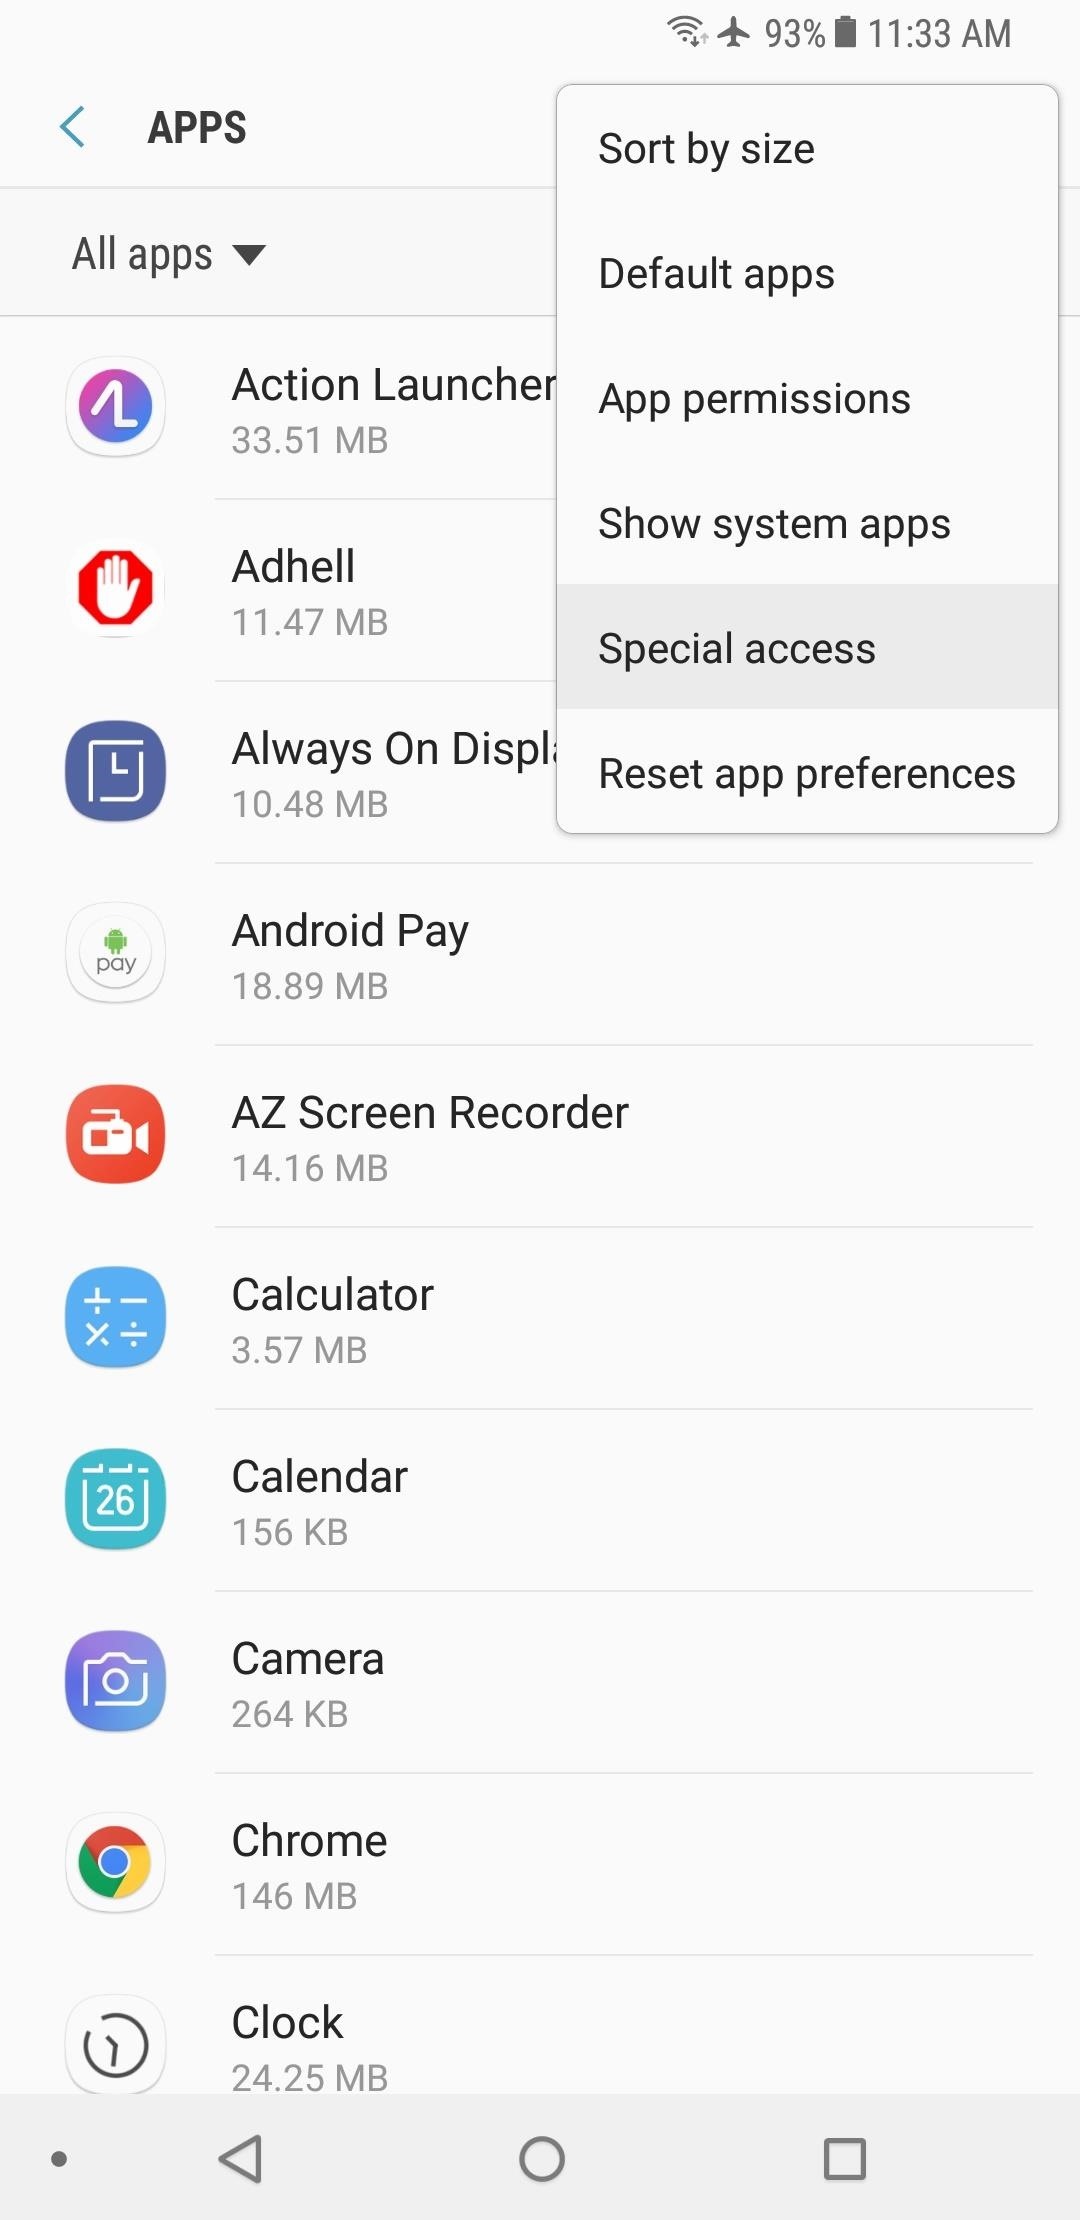
4. Device AdministratorsThis next one pertains more to security than privacy, but it works both ways. Android apps can get slightly elevated permissions by requesting "Device administrator" access, which is helpful for certain tweaks like ad-blockers, but can be seriously harmful in some cases.Device administrator access has to be explicitly granted by the user (you), but just like with app permissions, it's possible that you may have accidentally enabled this feature, which can be potentially disastrous. You see, malware apps love to use the Device administrator feature to prevent you from uninstalling them, which can put you in a pickle.So take the proactive approach. Head to the Apps menu in Settings, then tap the menu button in the top-right corner and select "Special access." From here, choose "Device administrators," then go through the list and deselect any app that you don't completely trust or that you don't remember granting Device administrator access to.
5. Apps That Can Appear on TopCertain apps can apply overlays on top of the screen you're currently viewing. Typically, this is used for features like Facebook Chatheads or screen filters that cancel out blue light. However, malicious apps can use this feature to mislead you — for instance, an app could potentially draw a "Cancel" button over the "Install" button on an Android system prompt, leading you to inadvertently install malware.So head to the Apps menu in Settings, then tap the menu button and select "Special access" again. From here, choose "Apps that can appear on top." Next, go through the list carefully and make sure that only apps you trust with this feature are enabled on this screen.
6. Apps That Can Change System SettingsProductivity apps can use an Android permission to toggle your system settings on or off. For instance, a voice assistant could use this permission to turn your Wi-Fi radio off when you say "Turn off Wi-Fi." This can be quite helpful, but if the wrong app gets this permission, it can also be harmful.So again, head to the Apps menu in Settings, then choose "Special access" from the overflow menu. Next, select "Apps that can change system settings," then go through the list and disable the switches next to any apps that you feel should not have this permission.
7. Notification AccessLet's say you use Nova Launcher so that you can get the red indicator dots on your home screen icons when an app has an unread notification. In order to see that these apps have unread notifications, Nova needs access to your notifications, right?Well that much is true, but some apps request this permission when they don't actually need it. So if you want to make sure that a third-party app can't read your incoming notifications, head to the Apps menu in Settings, then tap the menu button and choose "Special permissions." From there, select "Notification access," then simply disable the feature for any questionable apps.
8. Usage Data AccessTo give you a better experience, some apps ask for permission to view data about the way you interact with your phone. This can include a list of apps you use, how often you use them, your cell carrier's name, your language settings, and more. So it's a bit creepy when you stop and think about it.If you'd like to prevent apps from seeing this data, head to the Apps menu in Settings, then select "Special access" from the overflow menu. Next, choose "Usage data access," then select each app in the list. After that, toggle the switch at the top of the screen to prevent any app from seeing this information.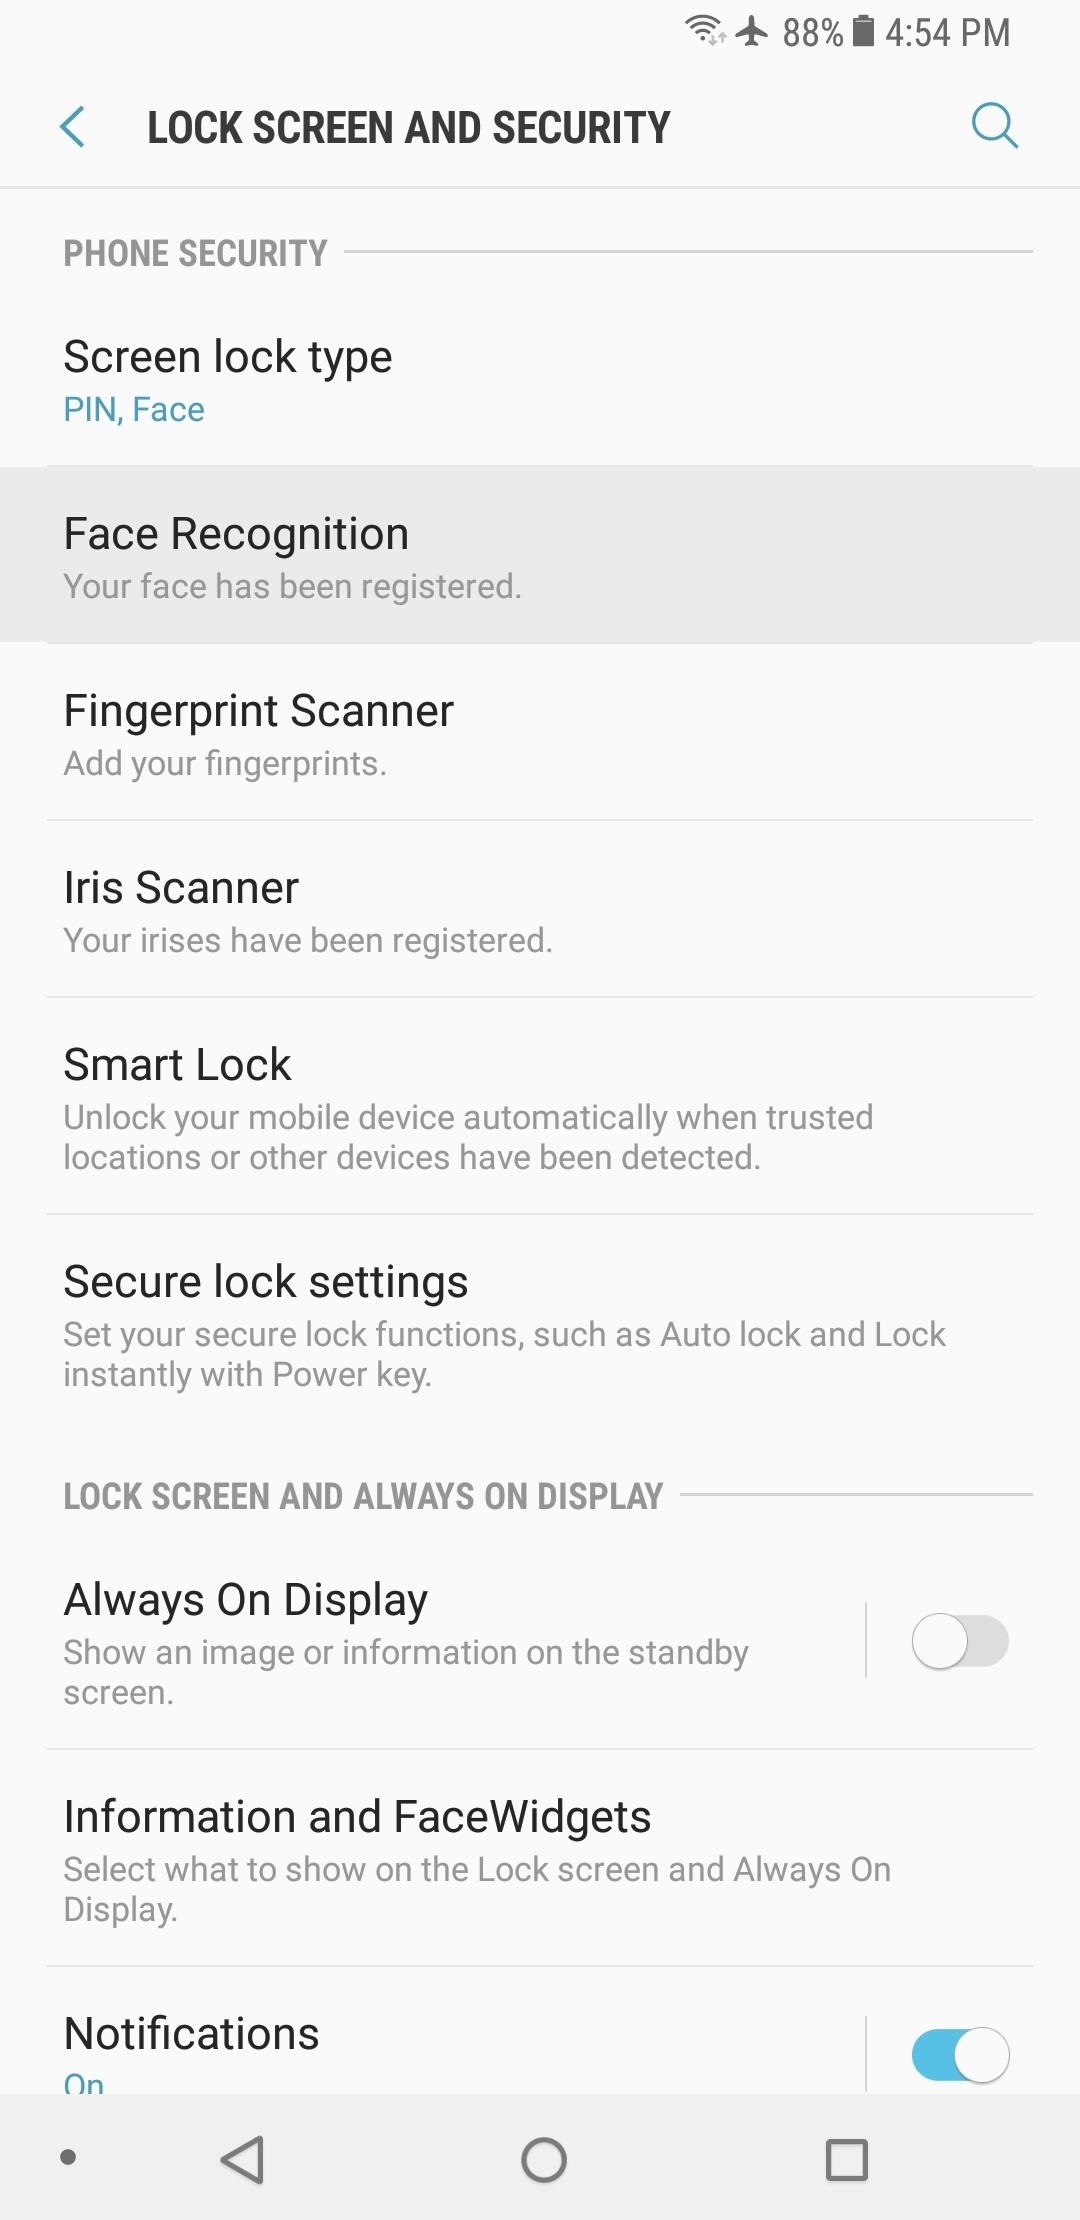
9. Face RecognitionThe Galaxy S8's facial recognition feature is handy, but it's not the most secure locking method. It's been demonstrated that even a simple picture of you would let someone into your phone if you're using this feature.To turn it off, head to the Lock screen and security menu in Settings, then select "Face Recognition" and disable "Face unlock" on the subsequent screen. After doing this, make sure you still have either a pattern, PIN, or password set as your "Screen lock type."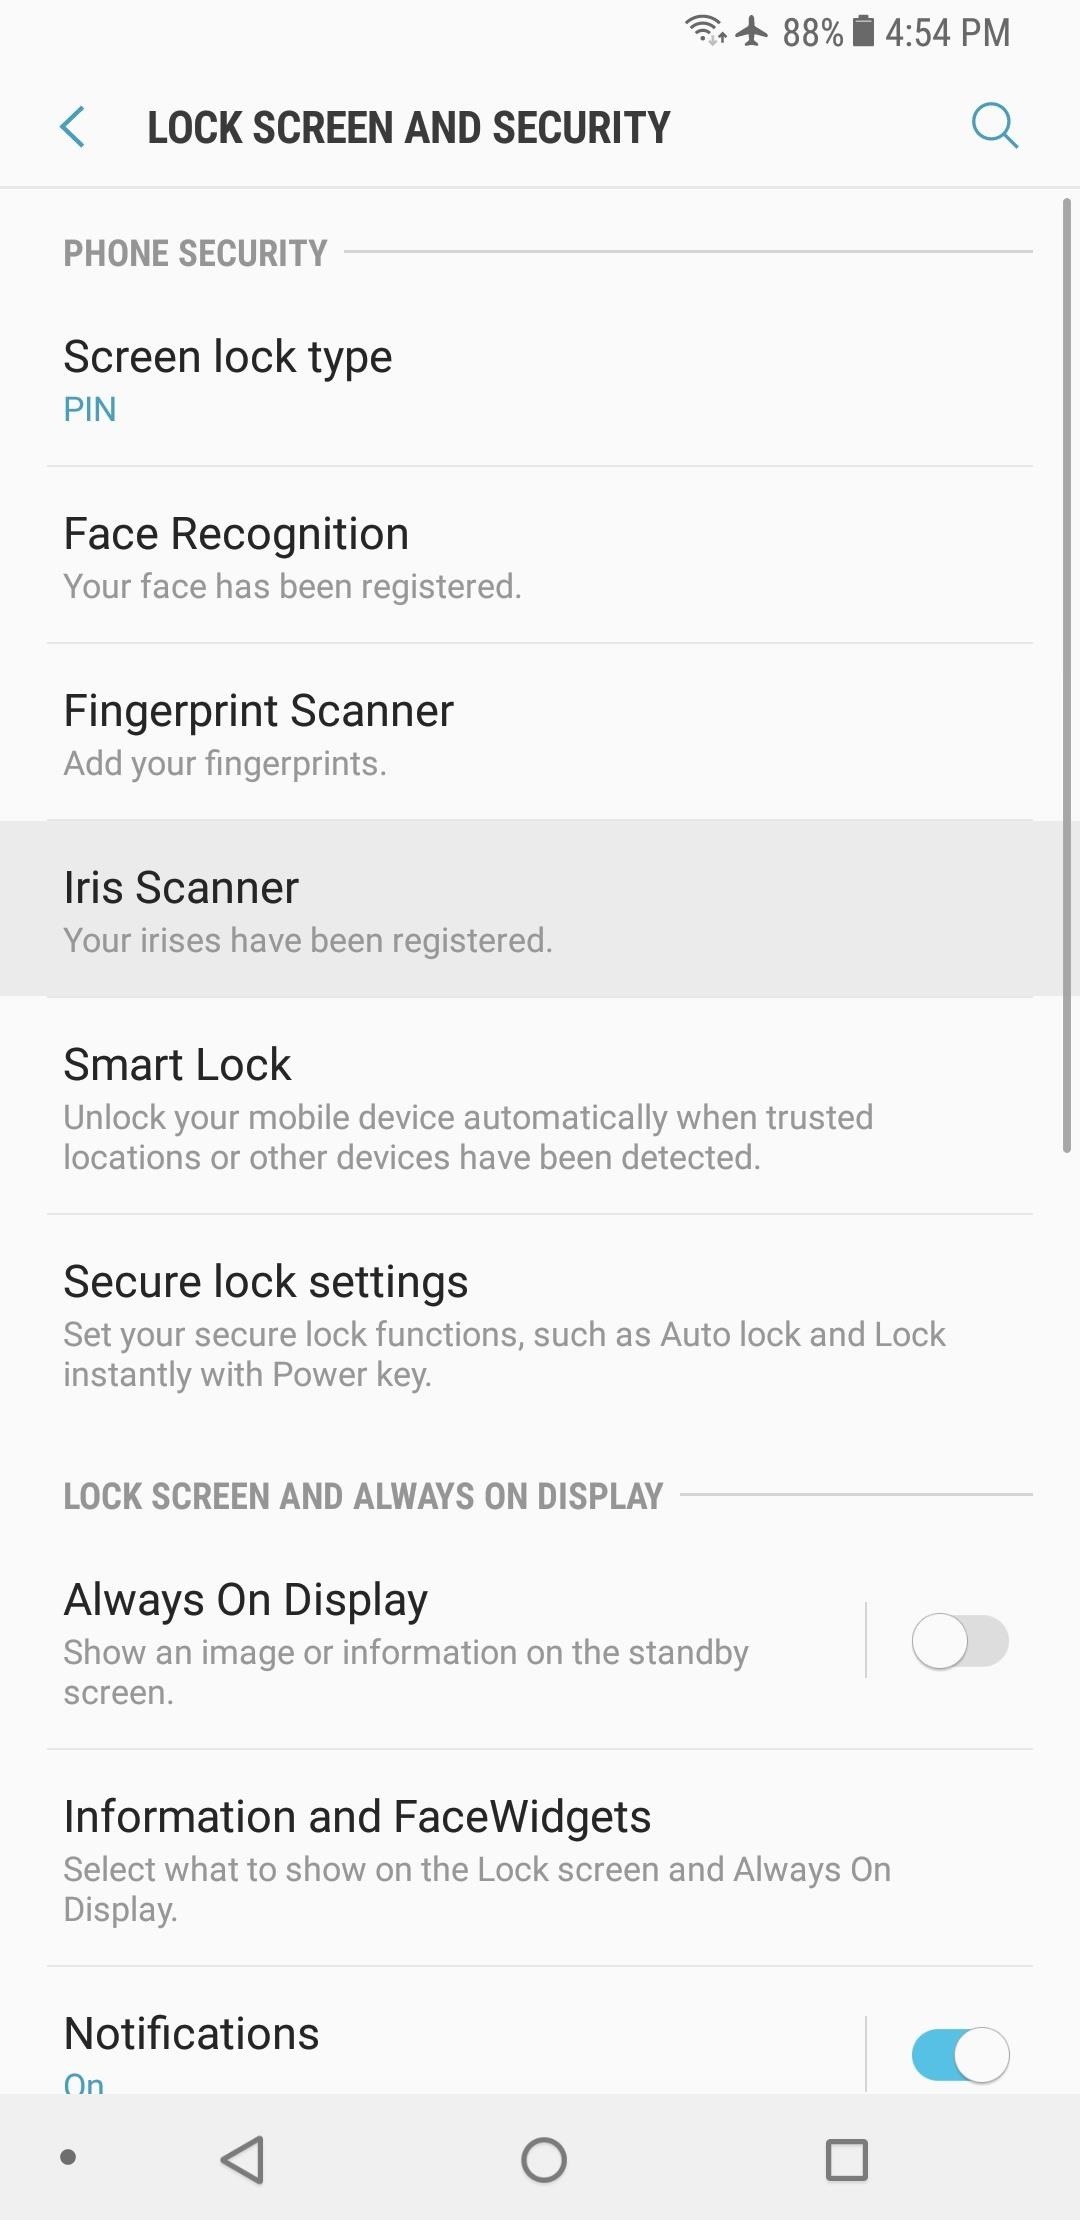
10. Iris ScannerEven though the Galaxy S8's iris scanner is more secure than its facial recognition feature, it's still not infallible. In theory, someone could take a picture of you with an infrared camera, then print out an image of your eyes that would completely bypass your lock screen.So if you want to turn this feature off, head to the Lock screen and security menu in Settings and select "Iris Scanner." From there, disable the switch next to "Iris Unlock." Once you've done this, make sure to set a pattern, PIN, or password as your "Screen lock type," as these are far more secure methods.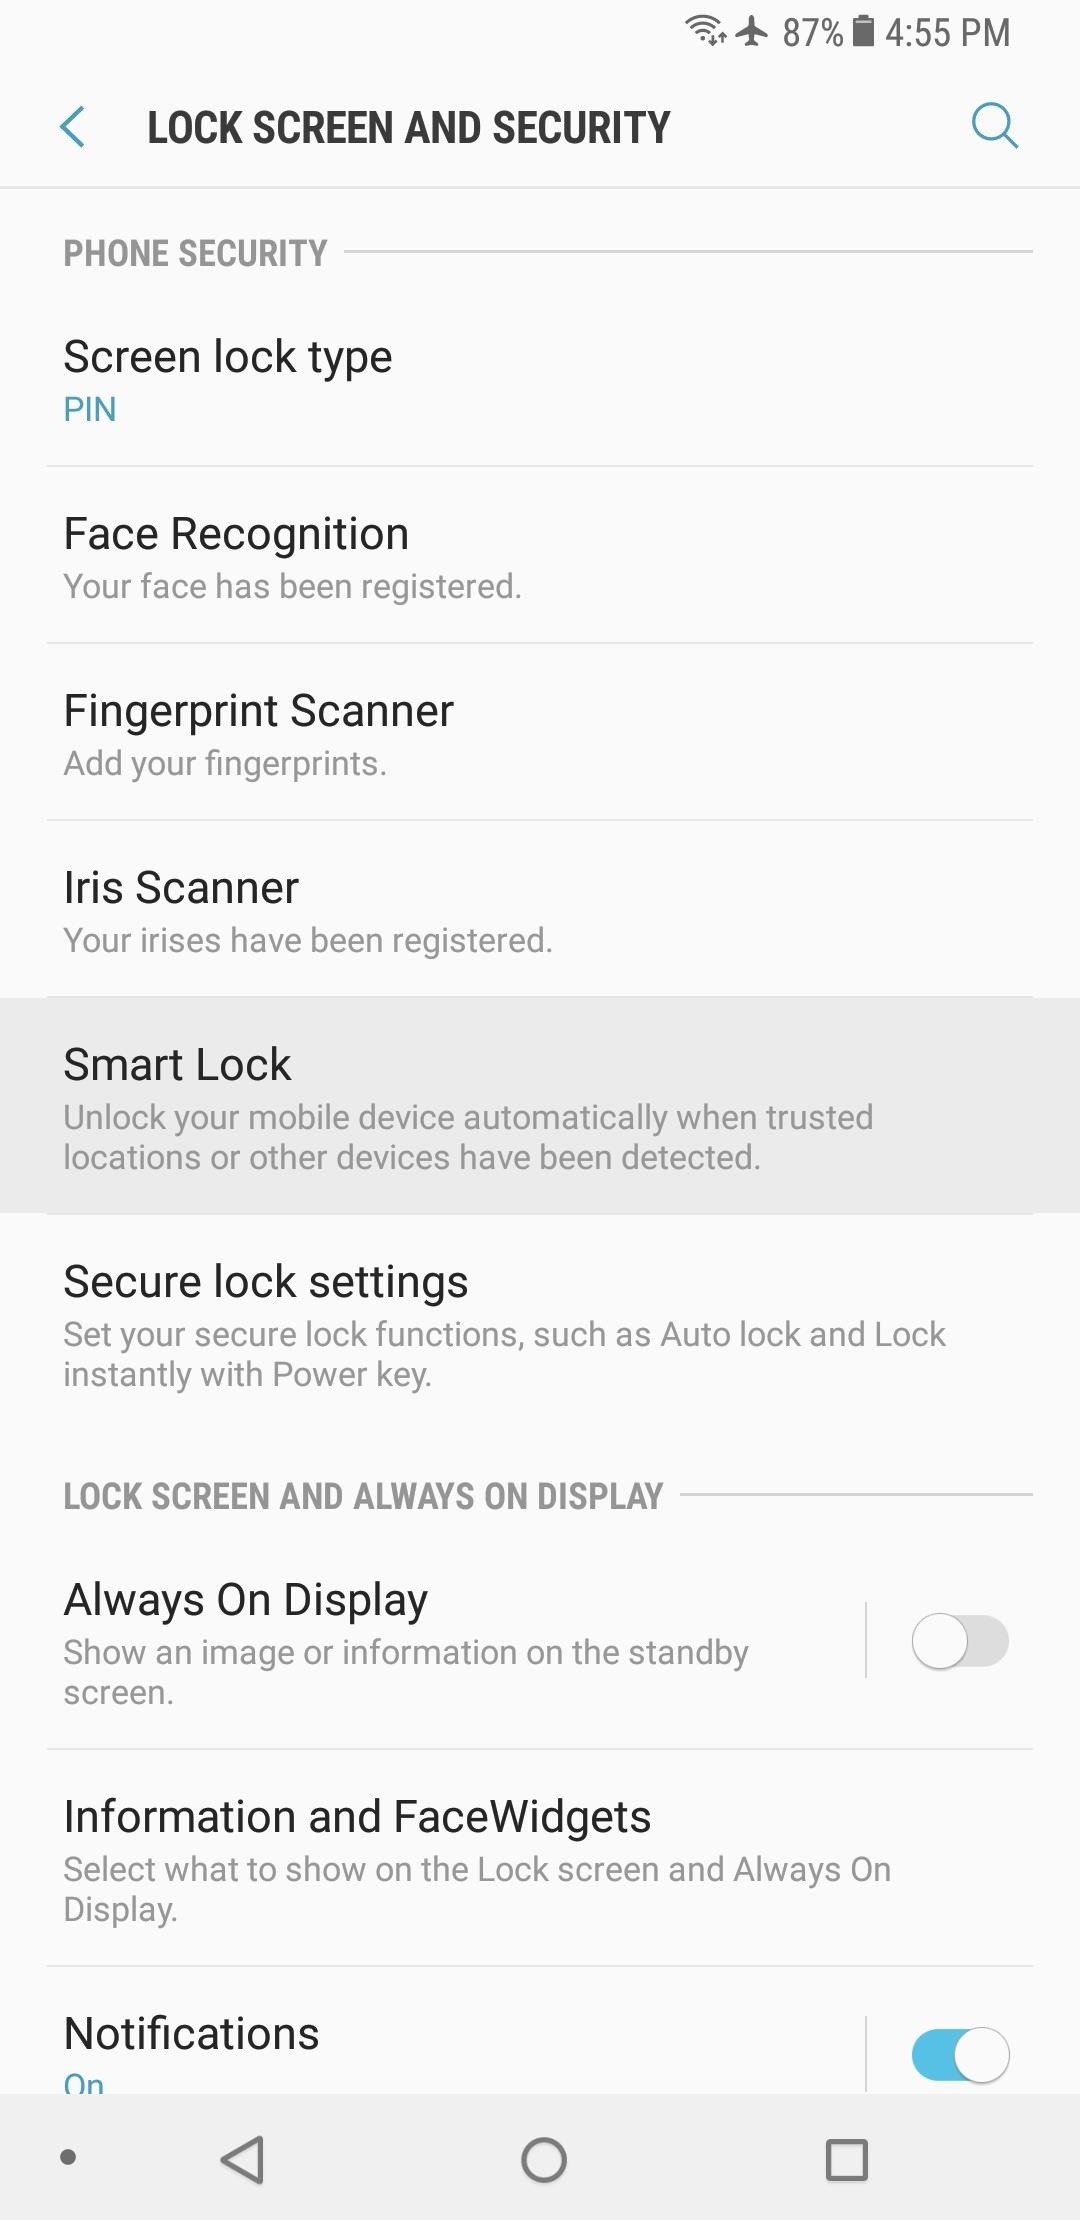
11. Smart LockWith the Galaxy S8's fingerprint scanner so awkwardly placed, many users have turned to the "Smart Lock" feature so that they don't have to do hand gymnastics every time they want to unlock their phone. Smart Lock works by removing your lock screen security when you're in a trusted location or when your phone is paired with a trusted Bluetooth device, among others.But this means that your phone is basically unlocked any time it's within range of your home or your smartwatch, for instance. Lets say you get up from your desk at work and leave your phone behind to run to the bathroom, but you never go completely out of Bluetooth range, so Smart Lock stays stays engaged because it senses your smartwatch nearby. Someone could simply pick up your phone while you're gone and have full access to everything.To disable this feature, head to the Lock screen and security menu in Settings, then select "Smart Lock." from here, you should at least disable the "Trusted devices" setting. You may also want to consider disabling "On-body detection," "Trusted places," and "Trusted voice," which work similarly, but would fail in fewer scenarios.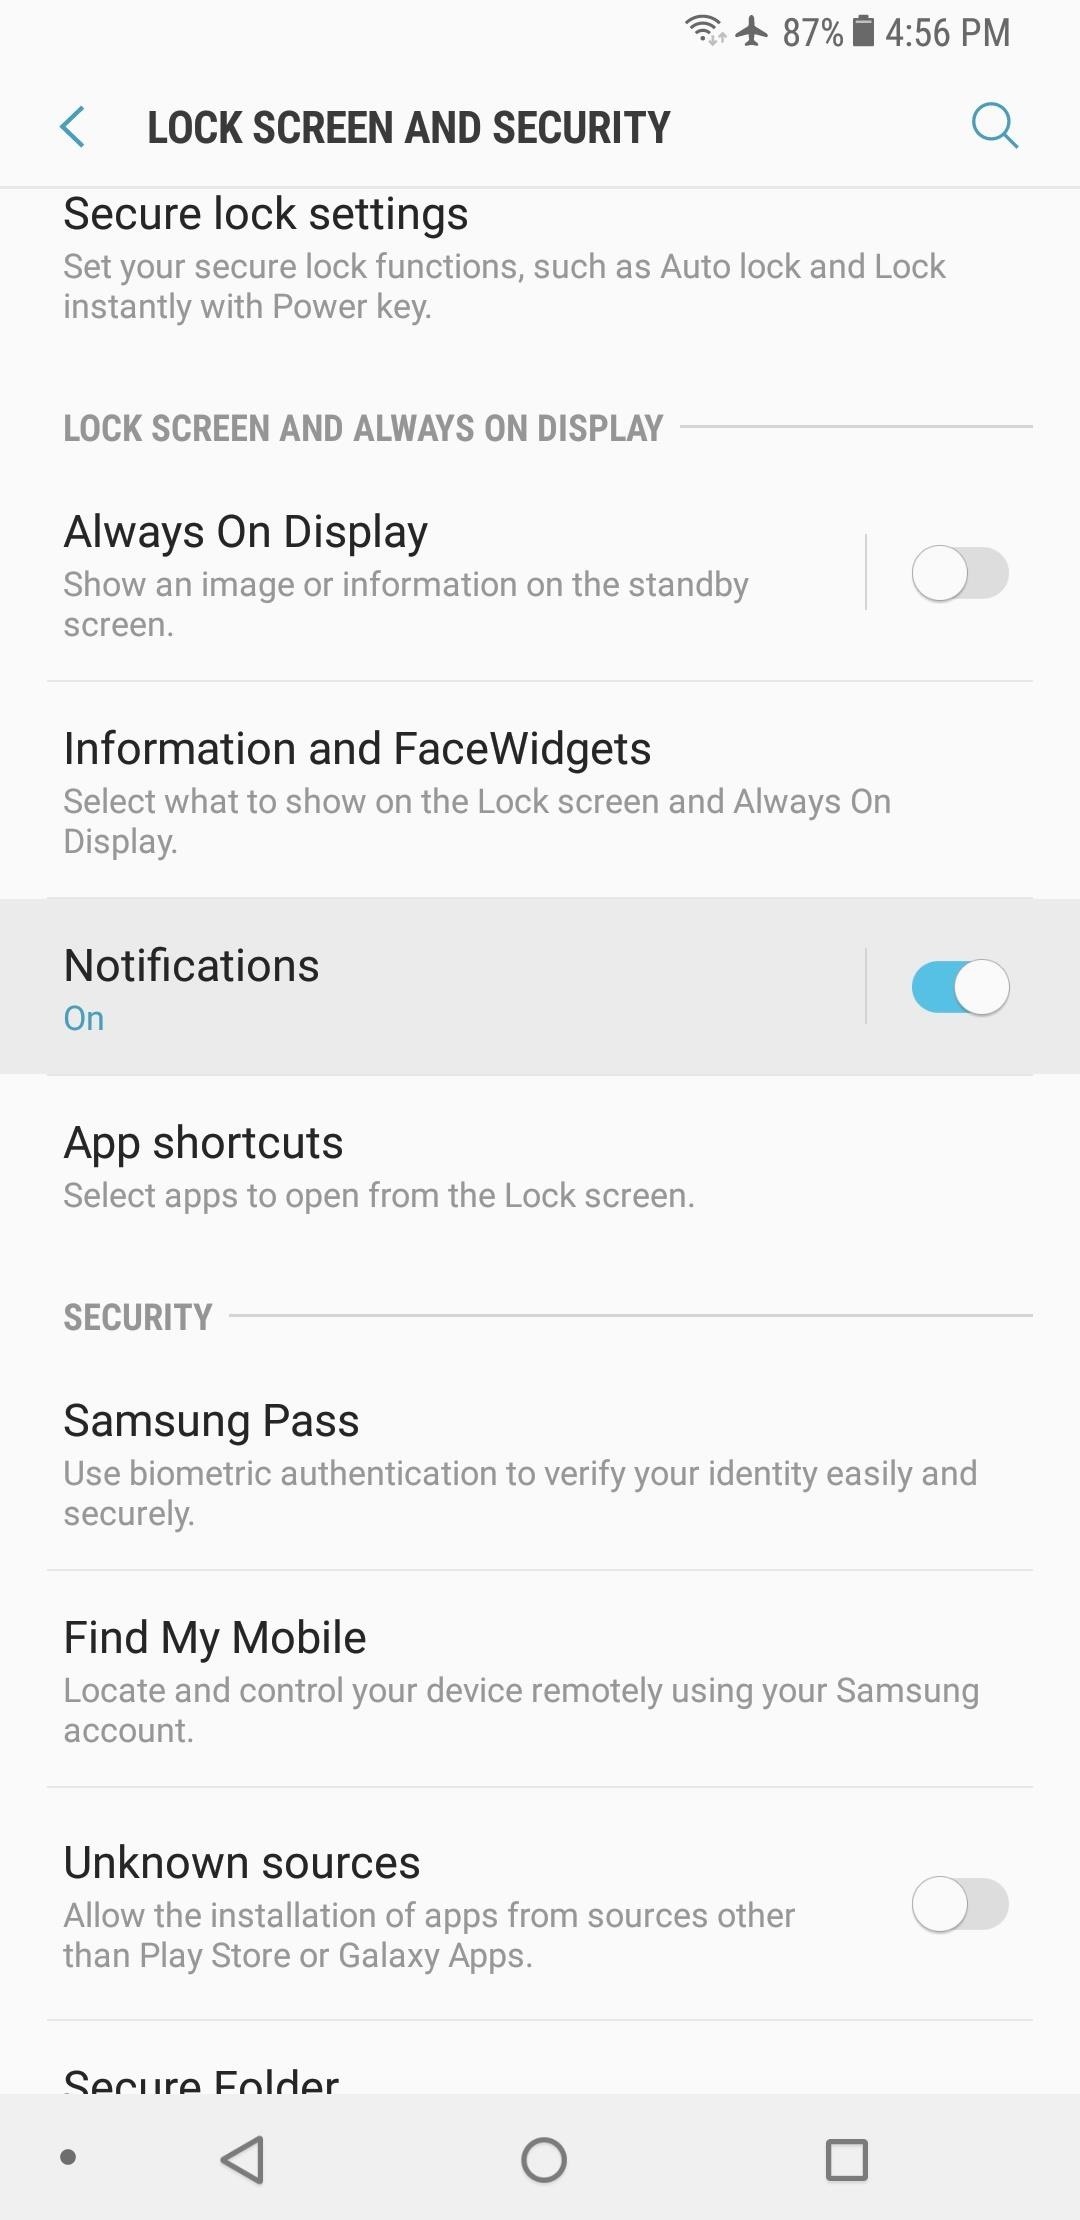
12. Lock Screen NotificationsThis one's more about privacy than anything else. Say you get a message — your phone lights up and you see a preview of the notification on your lock screen. Now say you're sitting next to someone — would you want them to be able to see what that notification says? Probably not.So to make lock screen notifications more private, head to the Lock screen and security menu in Settings, then select "Notifications" (don't toggle the switch, just select the menu item). From there, you've got some options.First, you can disable lock screen notifications altogether by toggling the switch at the top of the screen. Secondly, you can hide the content of notifications (the actual message) by enabling the switch next to "Hide content." Or you can take things a step further by enabling the "Notification icons only" setting. Finally, you can opt to prevent certain apps from showing notifications on your lock screen altogether by disabling the switch next to them at the bottom of this screen.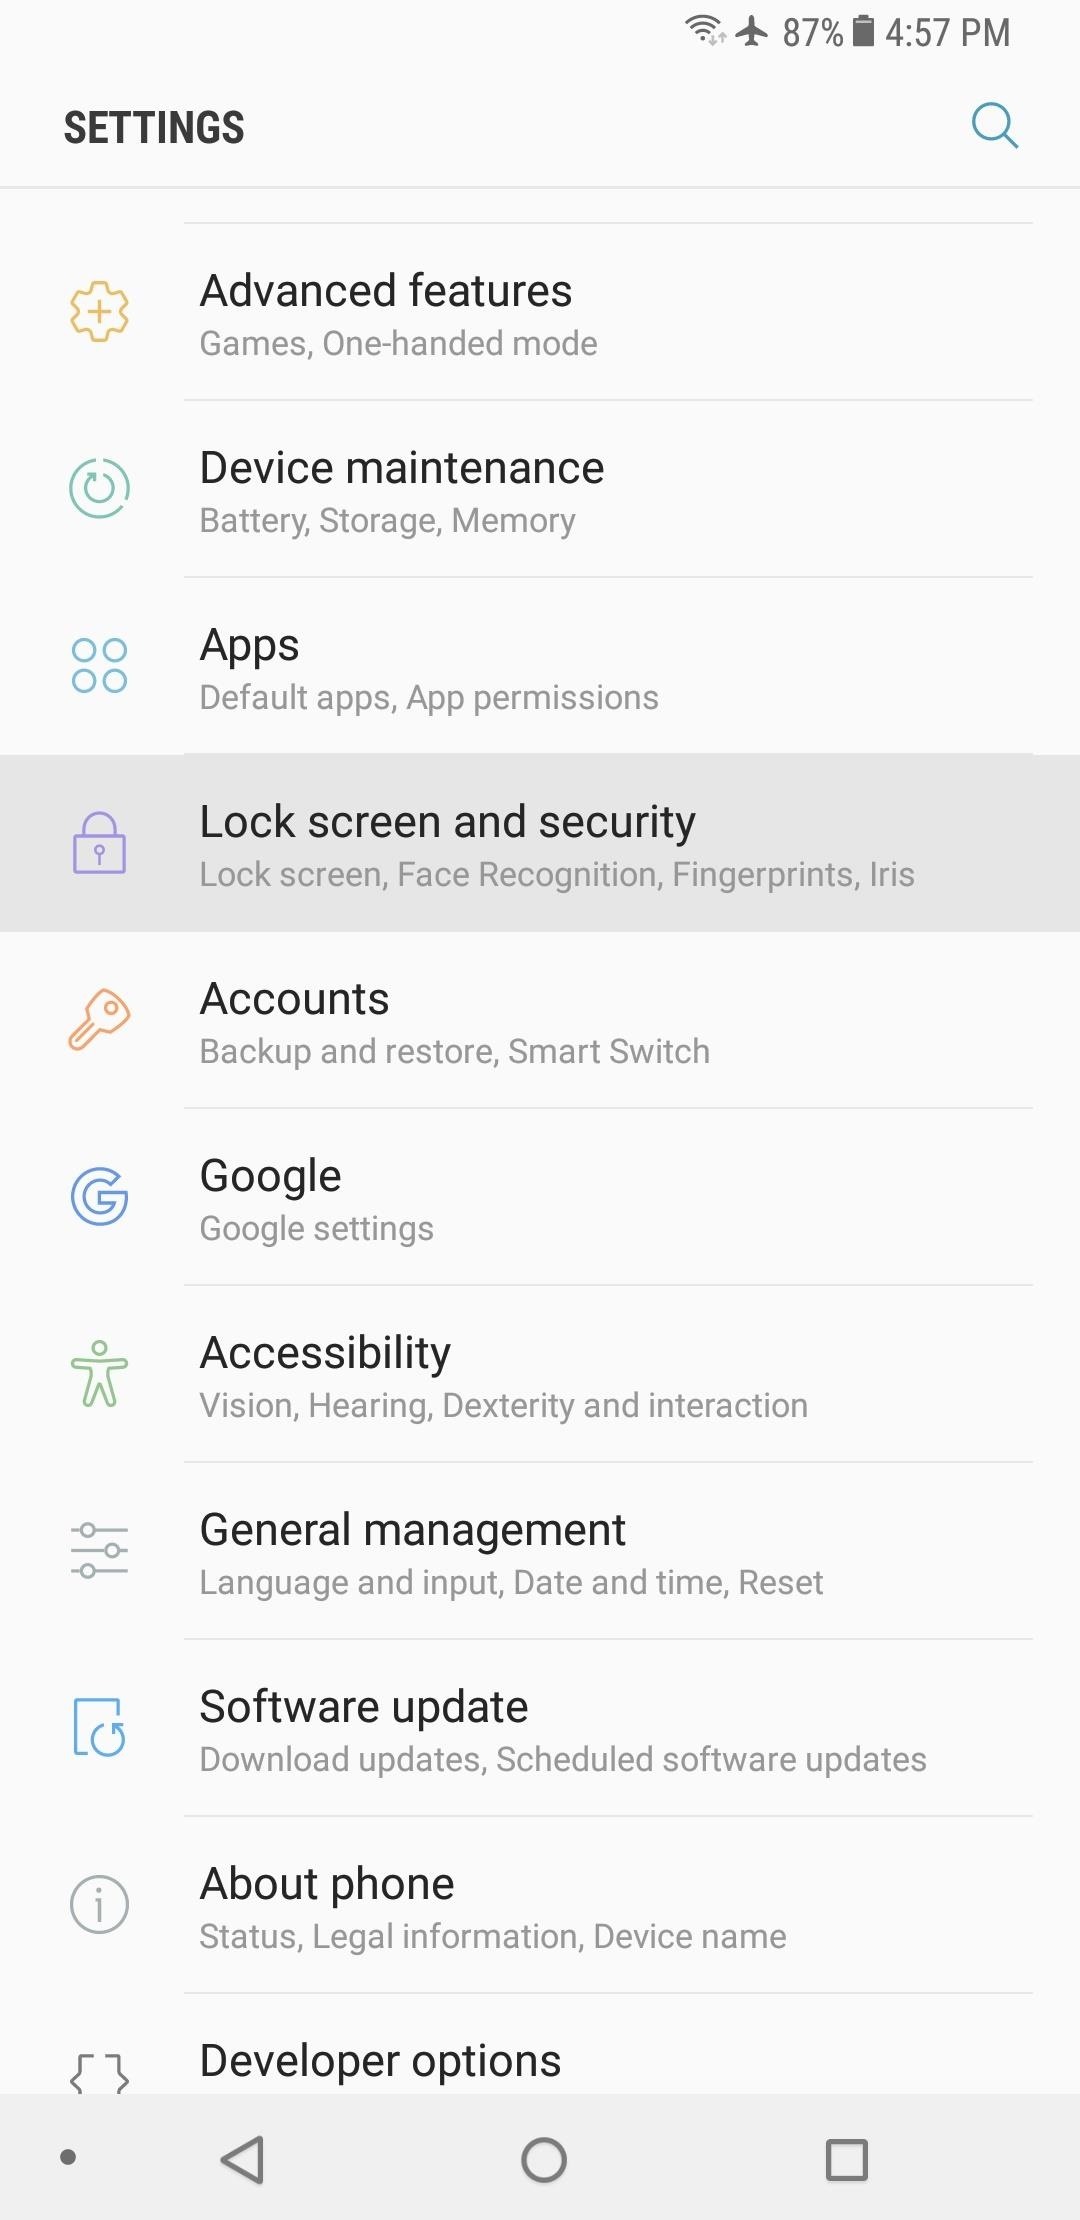
13. Unknown SourcesThe vast majority of Android malware comes from random websites, not the Google Play Store or the Galaxy Apps store. If you come across an interesting game that's available for download on some third-party website, you might think it would be a good idea to sideload the app — but this obviously isn't very secure.So to make sure that you don't accidentally install an app from a less-than-reputable source, head to the Lock screen and security menu in Settings, then disable the "Unknown sources" option. From now on, it'll only be possible to install apps from the Google Play Store or the Galaxy Apps store, which are trusted sources with anti-malware measures already in place.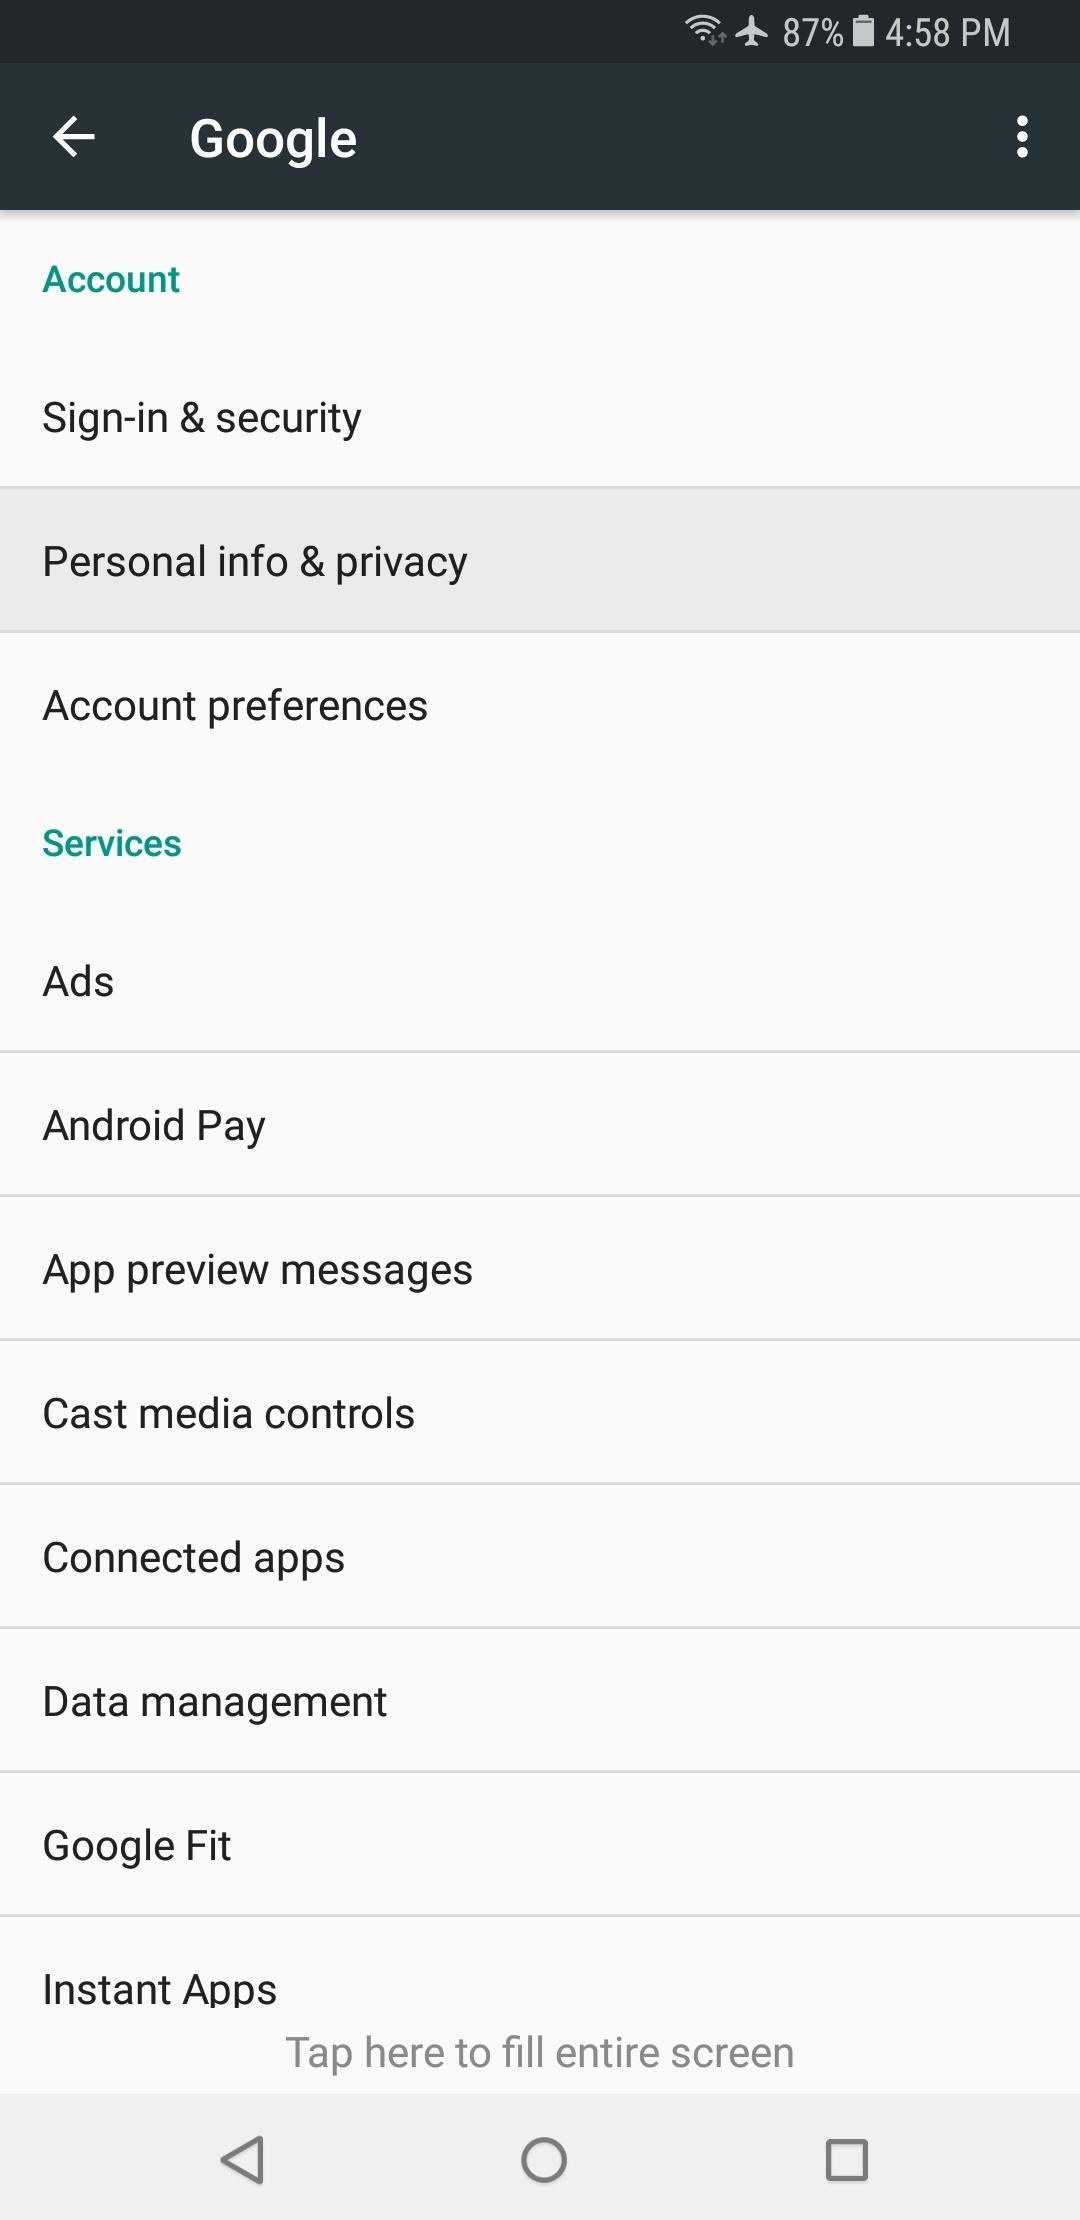
14. Google Data CollectionIn case you didn't know, your phone's operating system, Android, was created by Google. This means that there are many features, such as the Google Assistant, that use data from your phone to improve your experience. However, many people aren't comfortable with this setup.So if you'd like to limit the amount of data that Google collects from your phone to use in other services that are tied to your account, start by heading to the Google menu in Settings. From there, select "Personal info & privacy," then scroll down a bit on the next page and choose "Activity controls."Next, there are several privacy settings that you can adjust. Disable "Web & App Activity" if you don't want Google to collect information about sites you visit from Google Search and apps you use on your phone. Turn off "Device information" to prevent Google from storing your contacts and calendar entries on the cloud. "Voice & Audio Activity" is used to train the Google Assistant, and you can disable this here as well. Beyond that, you can disable YouTube history and overall device location history here as well. Note that disabling these features may cause you to lose some functionality in Google apps.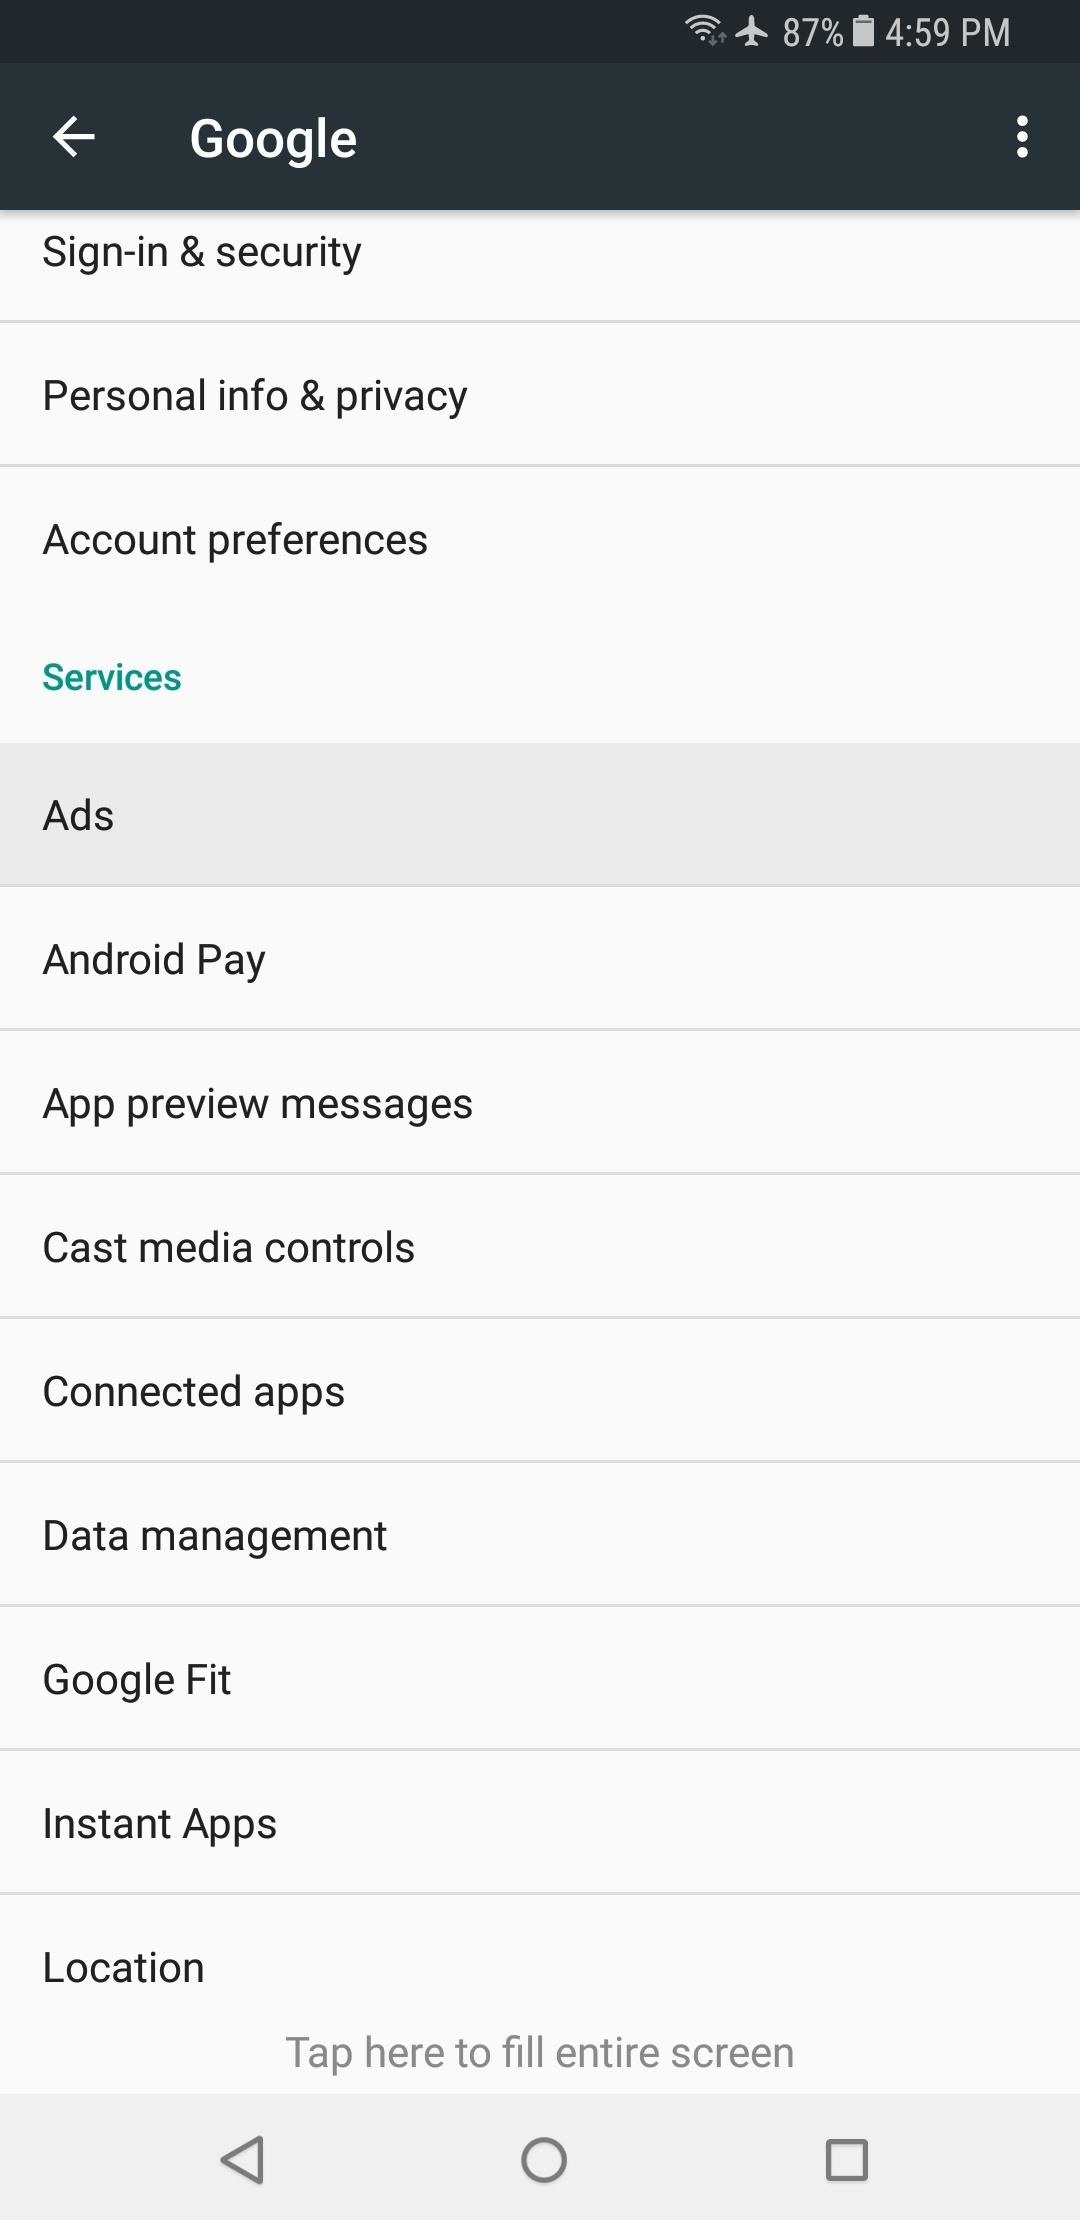
15. Ads PersonalizationDeep down, Google's really an advertising company, and they use information collected from Android to personalize ads to suit your individual tastes. This information is never shared with third parties, but targeted ads are always a touchy subject, so you can disable them by going to the Google menu in Settings, then selecting "Ads" and turning on the "Opt out of Ads Personalization" setting.Beyond that, you can even reset your advertising ID in this same menu. Sites and services use this ID to serve up relevant ads, so it's probably a good idea to come back to this menu periodically and tap the "Reset advertising ID" entry. Once you've disabled or changed all of these settings, your phone will be a lot more secure and private. There should now be less ad tracking, less data collection by Google, and less permissions abuse from third-party apps. On top of that, your phone itself should be a bit more secure from prying eyes and outside threats.Don't Miss: Privacy 101: Using Android Without Compromising SecurityFollow Gadget Hacks on Facebook, Twitter, Google+, YouTube, and Instagram Follow WonderHowTo on Facebook, Twitter, Pinterest, and Google+
Cover image and screenshots by Dallas Thomas/Gadget Hacks
Because of Android's new SafetyNet system, certain apps can now block rooted users or prevent you from accessing them altogether — but at least for now, there are still ways around these restrictions. You can pass most of SafetyNet's checks with Magisk and systemless root, but Google's Compatibility Test Suite (CTS) remains a hurdle in some
Root Exploit: Memodipper Gets You Root Access to Systems
Make a safe copy of your data by backing up, and learn about more features in the user guide for your iPhone, iPad, or iPod touch. If you're new to iPhone, learn more about getting started and using your iPhone .
How to Choose the Best iPhone For You - Lifewire
Apple's new iOS 13 software was unveiled at WWDC 2019 yesterday and now Apple has released iOS 13 beta 1 to developers. Apple has also released their first beat of iPadOS to developers as well
iOS 8.1.1 Beta 1 Released to Developers
osxdaily.com/2014/11/03/ios-8-1-1-beta-1-released-to-developers/
Apple has released the first beta of iOS 8.1.1 to those participating in the iOS Developer program. The update arrives as build 12B432 and is said to include multiple bug fixes, as well as performance improvements for the iPad 2 and iPhone 4S. Being a minor release, it is unlikely that iOS 8.1.1 will include any new features.
However, if you are like me and really want the emails you DELETE to actually be DELETED then here are the steps you will want to take to DELETE them forever and turn the "archiving" feature off. Here is instruction on how to BULK Delete Archived Mail from Gmail. How to BULK Delete Archived Mail from Gmail
mail.app - Get Swipe Left in Mail To Show 'Delete' Instead of
Interview with Dvoshansky - The Creator of Flying Face — Instagram Filter Review Published on Jun 6, 2019 | Filter name: "Flying Face". Filter creator: dvoshansky In this article, I share with you an Interview with the developer of the insanely popular Instagram filter game called 'Flying Face'.
8 New Ways to Get More Instagram Followers in 2019
Step 3: Keep Track of Your Data Usage. With Data Status all set up now, you can visualize your mobile data usage like never before. The main screen provides a circular graph that lets you know the amount of data you've used relative to your current billing cycle.
How to Conserve Data in Windows 10 - Gadget Hacks
Android provides a simpler process in which you can create a shortcut of the web page on your home screen. It's a feat that makes it much easier and all the while convenient for you to access your fave websites.
How to add a shortcut to a website on Android | Firefox for
In the past, we've shown you how to install CyanogenMod 10.1 on your Nexus 7, but that version was based off of the older Android 4.2 Jelly Bean. If you want to stay current, the newer CyanogenMod 10.2 is out in the nightly stage, which is based on Android 4.3, and you can get it right now.
How to Install a Custom ROM on Your Nexus 5 (A Newb-Friendly
Report Ad
Find out instantly if your dream domain is available and register it in seconds. Name it. Build it. Host it. Domain.com has you covered. Let's make it happen!
How To: Get Rid of Emoji Suggestions in the New Version of Swype for Android How To: Find Nearby Beer by Emoji on Your iPhone How To: Use the Middle Finger Emoji on WhatsApp How To: Create Shortcuts for Your Favorite iPhone Emojis to Switch Keyboards Less
The Best Way to Get Emoji on Android - wikiHow
However, these images have some pretty big drawbacks: they live only in the iOS universe and can be shaky without a tripod. Google's taken Apple's idea one step further, releasing their own Motion Stills app, a free iOS-exclusive app that turns your Live Photos into GIFs or videos to share on social media and with non-iOS users.
Still Missing Live Photos on Your Android? Try These 3 Apps
My first HP TOUCHPAD - it will not power up at no matter how long I connected the power to recharge the battery. What do you do in a situation like this? How do I get my HP Touchpad working again? I need it to power up so I can download the HP APP CATALOG. Thanks in Advance for you help.
Install ipk files/ 3rd party apps/ crack apps on HP touchpad
Unscrew the phone's headset to reveal the mic and speaker. Remove the existing pieces. My phone had little metal clasps, which made this very easy. I used the mic from an old earbud set and soldered it into place where the analog mic used to be. The wires in the headphones are teeny tiny, but don't panic.
How to Rewire a Vintage Phone so it works Today! | The Art of
Choose how you want to share your photo. Note that if you share via Mail, the Live Photo is sent as a still image. When you receive a Live Photo on your iPhone, iPad, or iPod touch via Messages, tap the photo to open it, then firmly press and hold to see it come to life. If you're using Messages on your Mac, double-click the Live Photo to open it.
iOS - Photos - Apple
It's Now Completely Legal to Unlock Your Cell Phone—President
0 comments:
Post a Comment